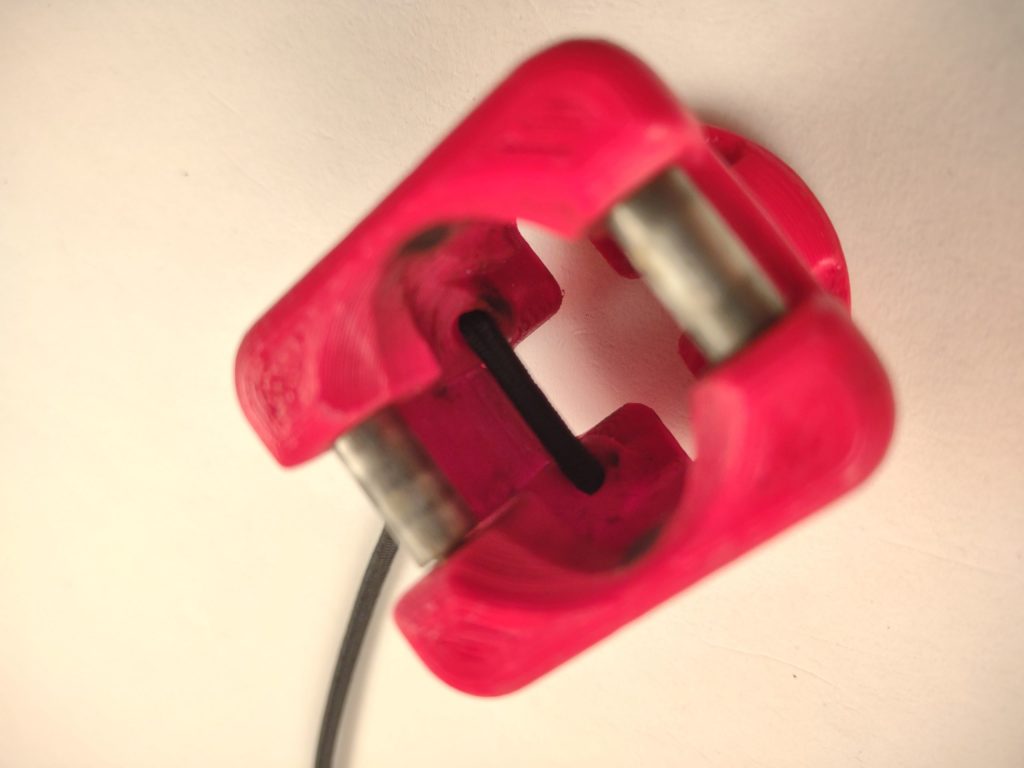
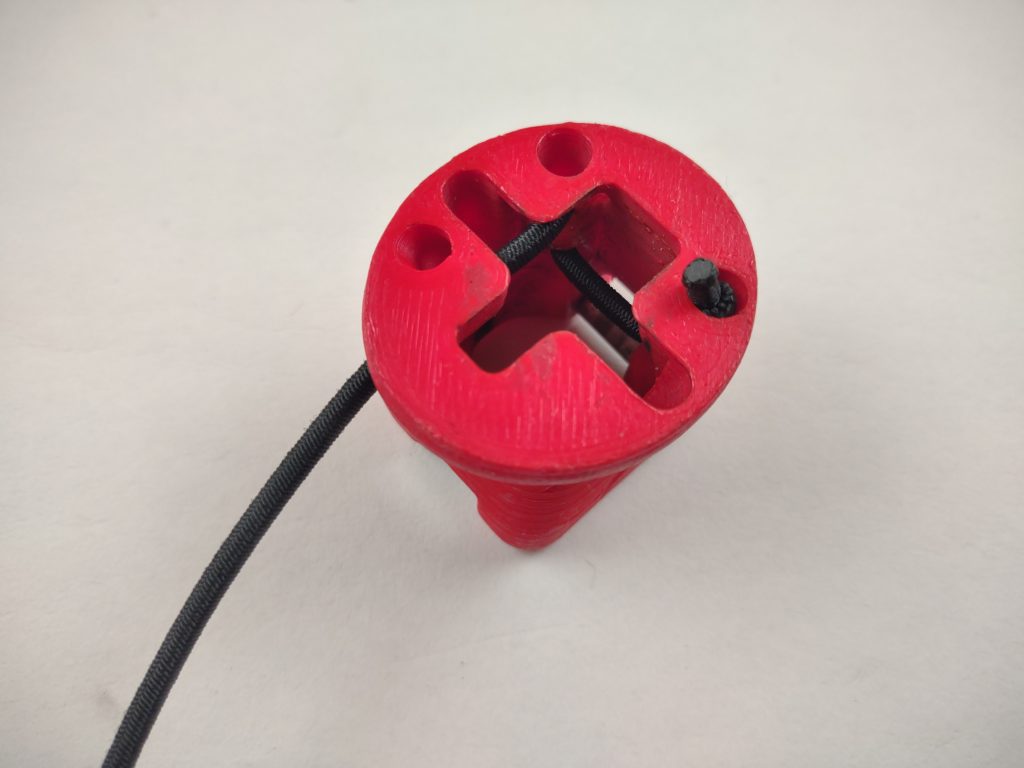
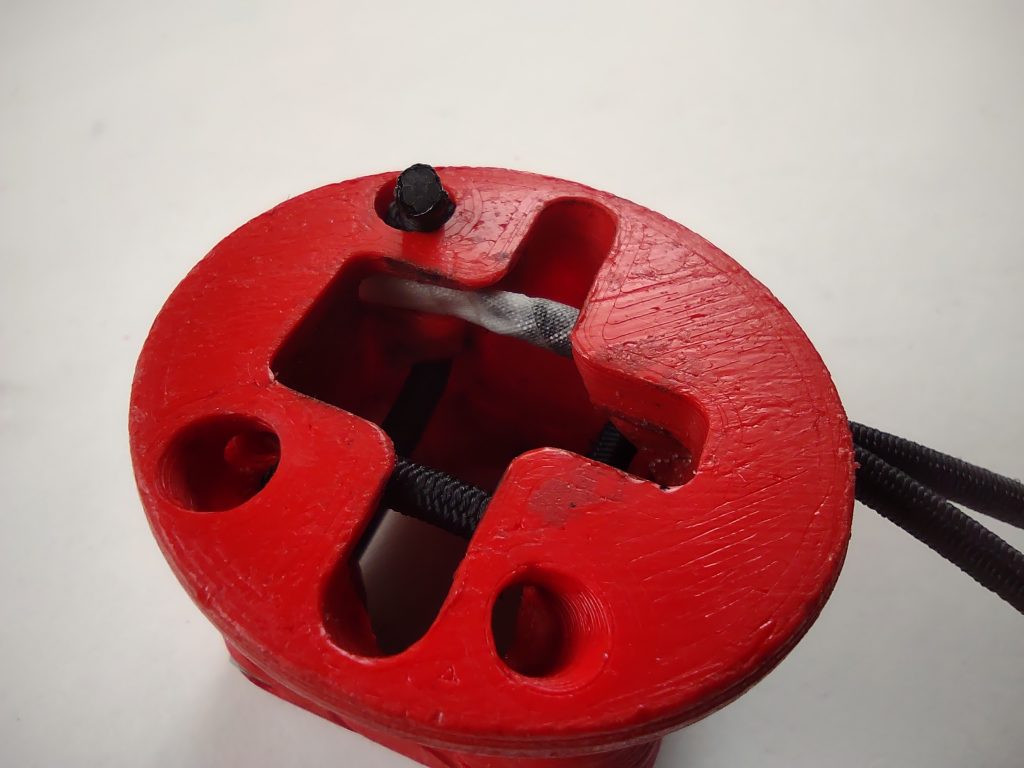
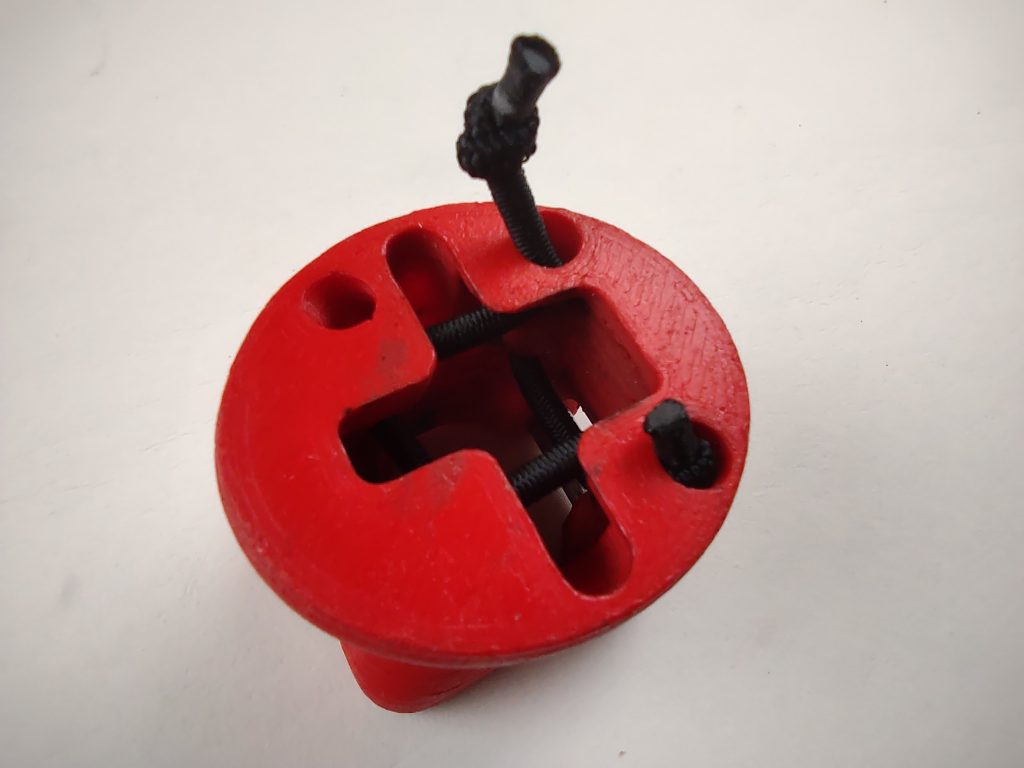
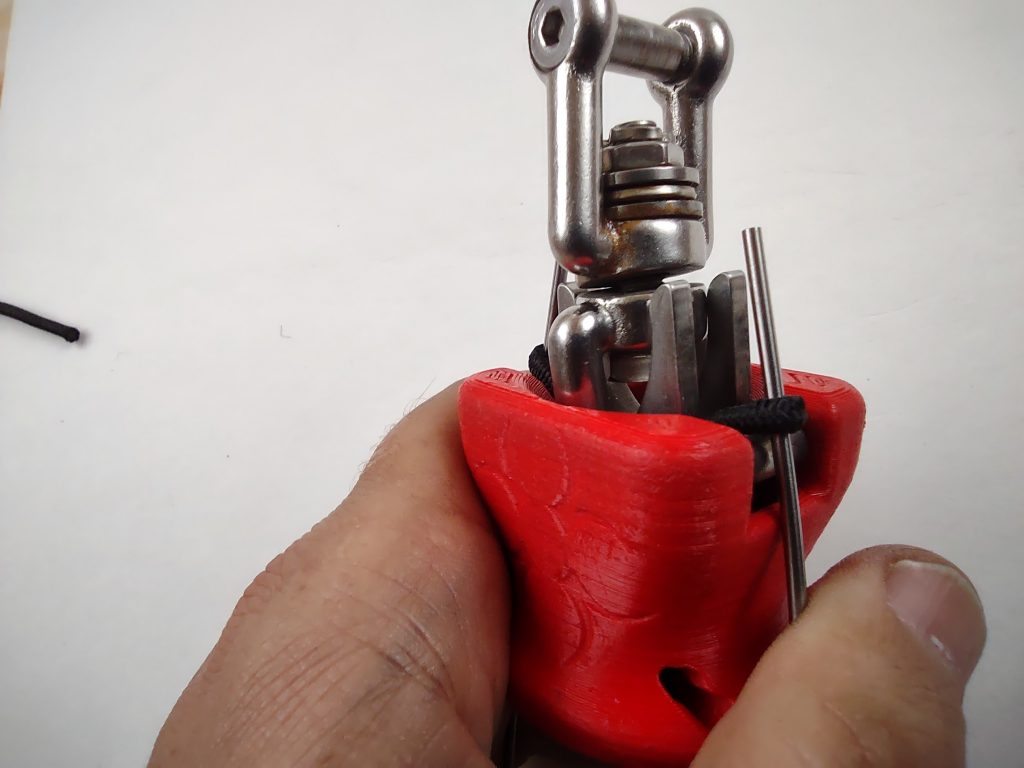
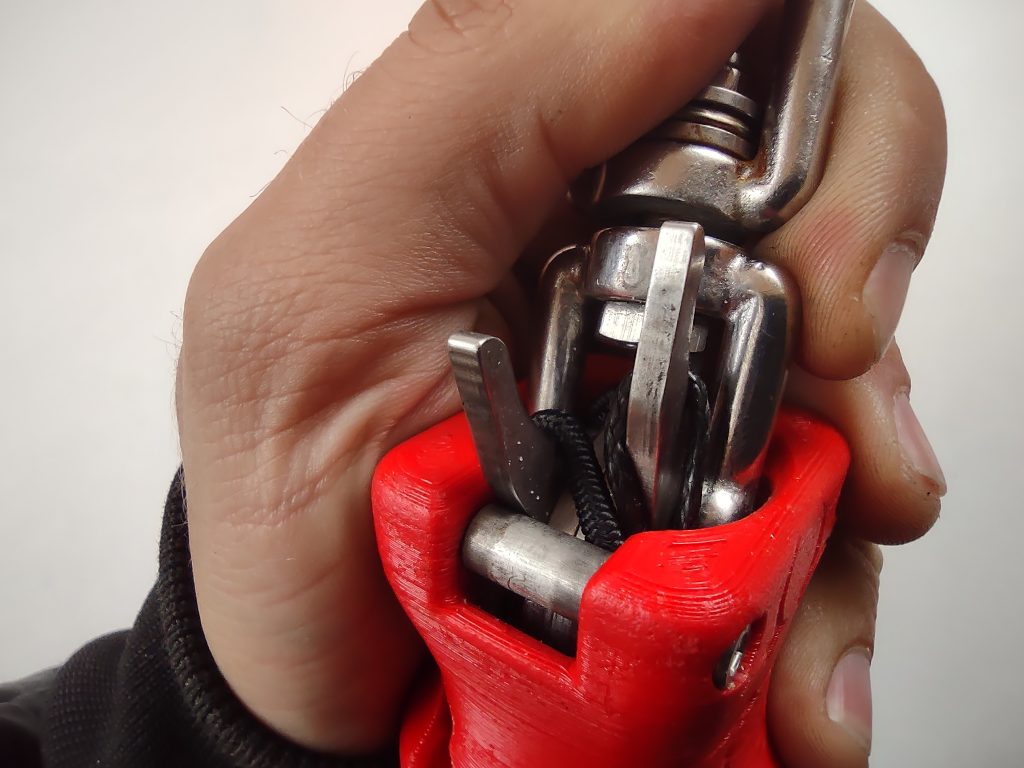
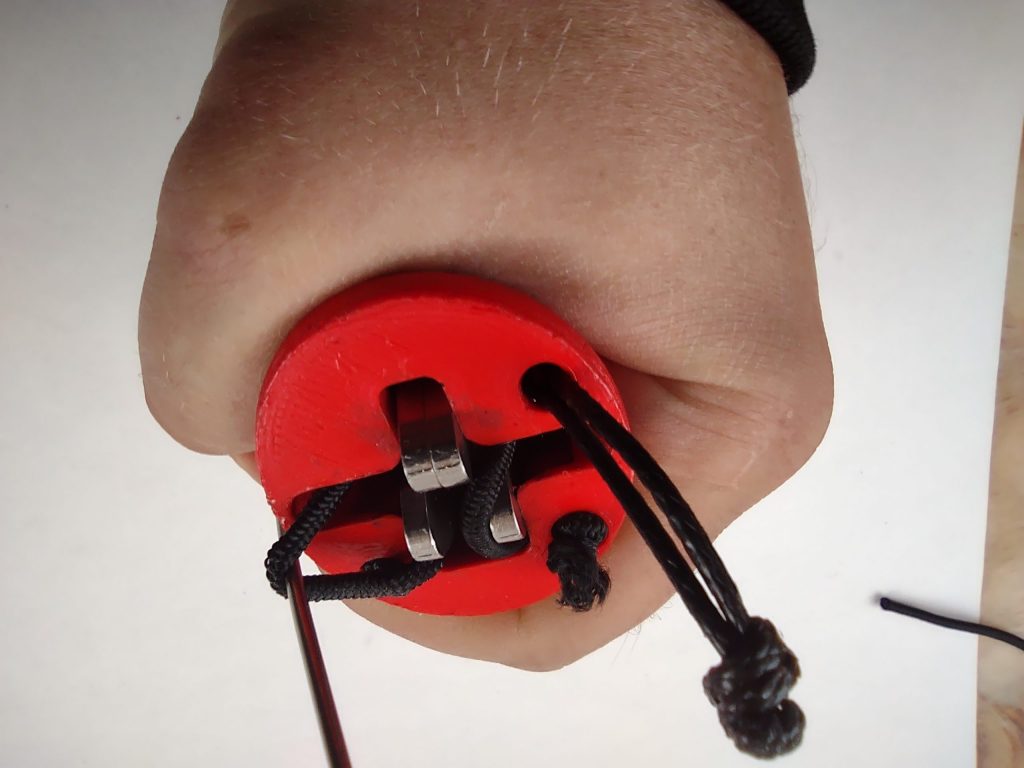
There is a single 3mm bungee woven through our Seatbelt Quick release that holds down the release housing and ejecting the the depower cord ring when you open the quick release without load.
To make sure the quick release functions as intended you should regularly check if the bungee has still enough springiness or that the outer webbing is not damaged. From out experience the bungee will last a full season of intense use in the Netherlands, although local conditions and prolonged wet and hot storage can accelerate the deterioration of the bungee.
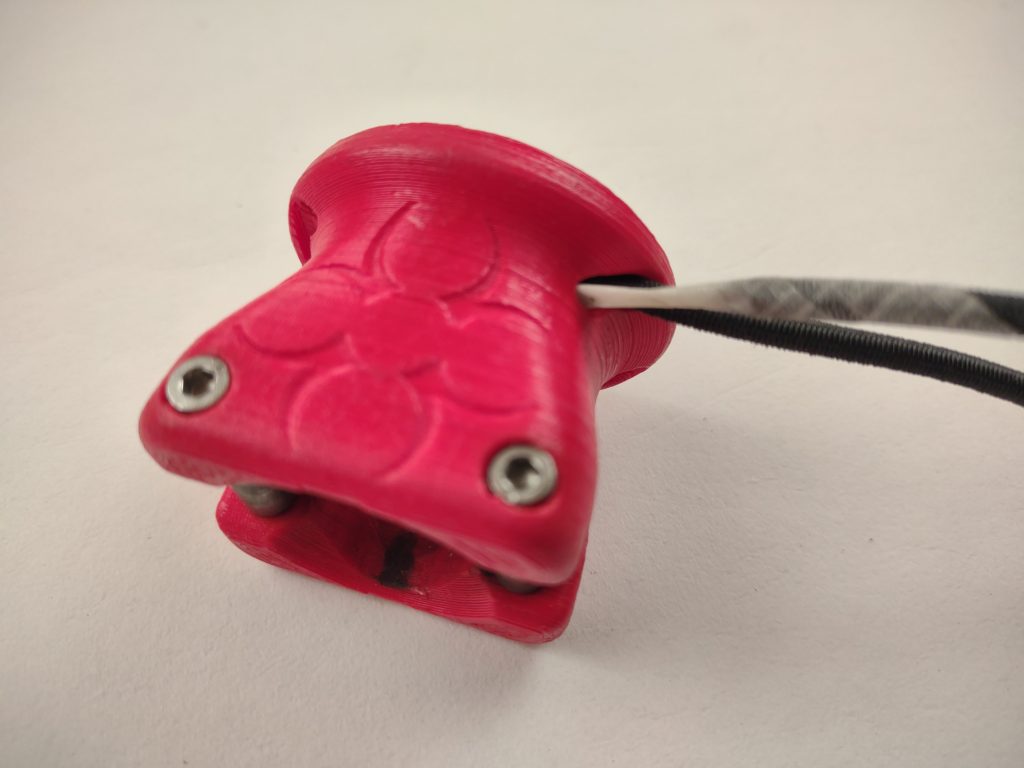
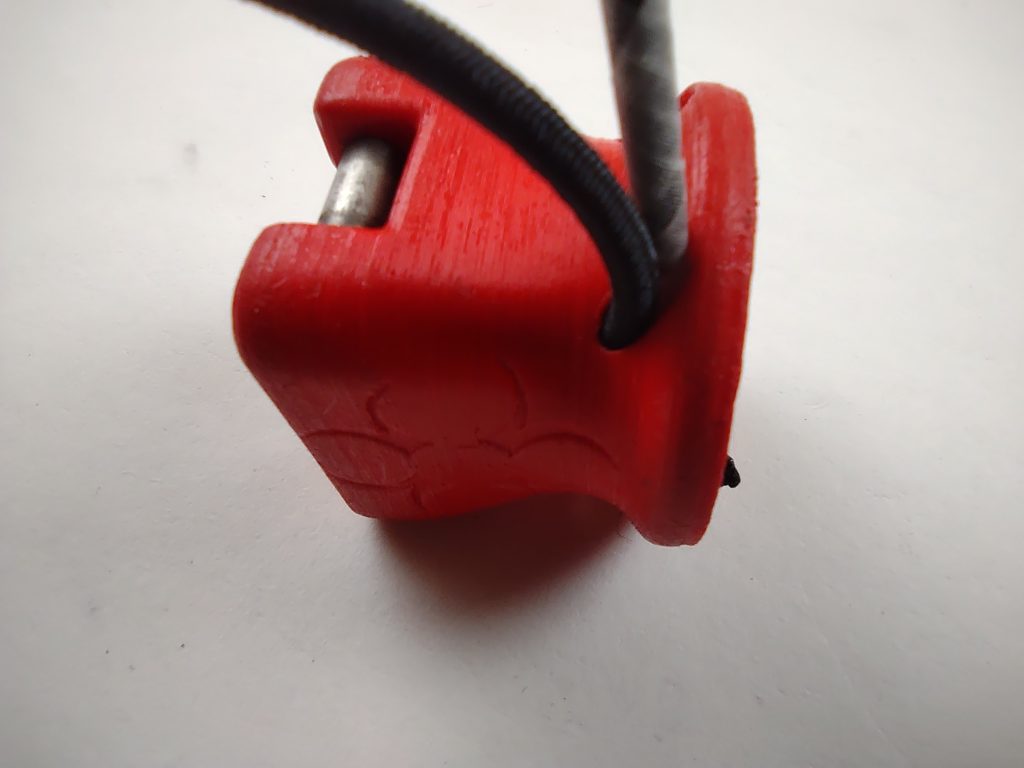
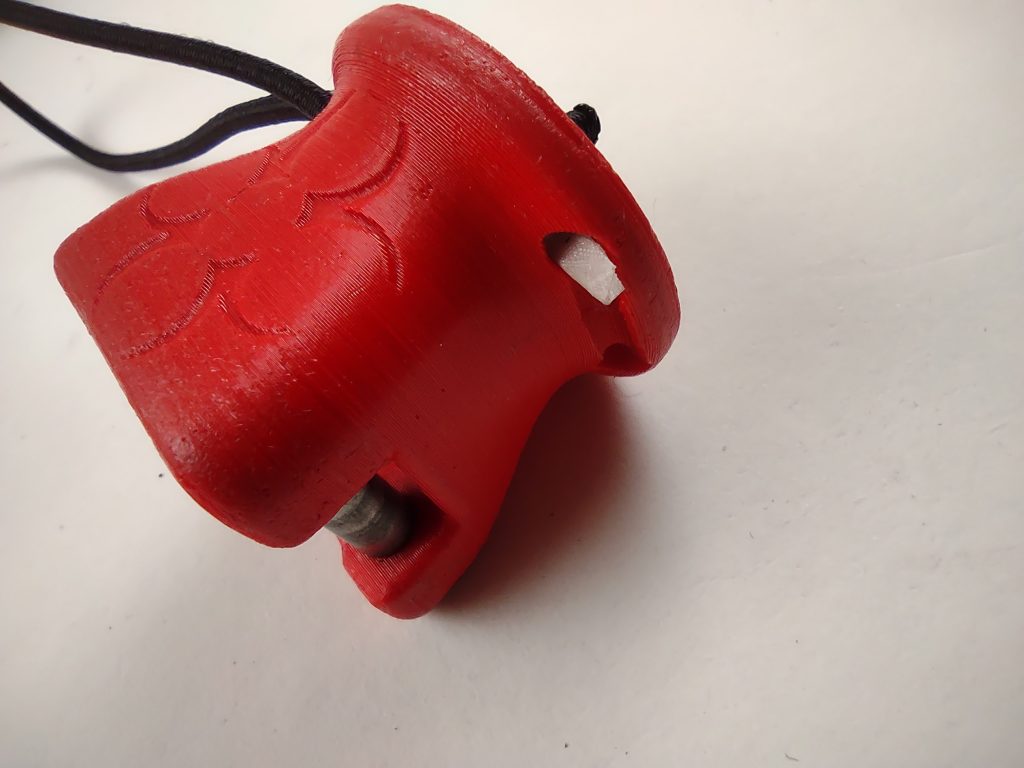
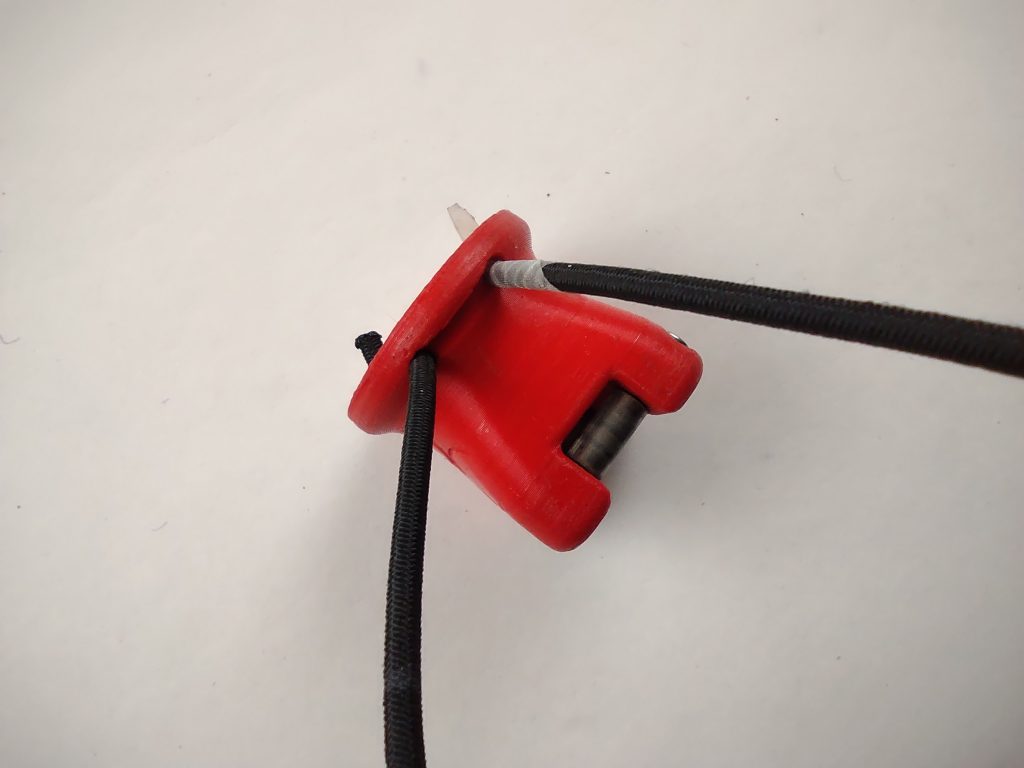
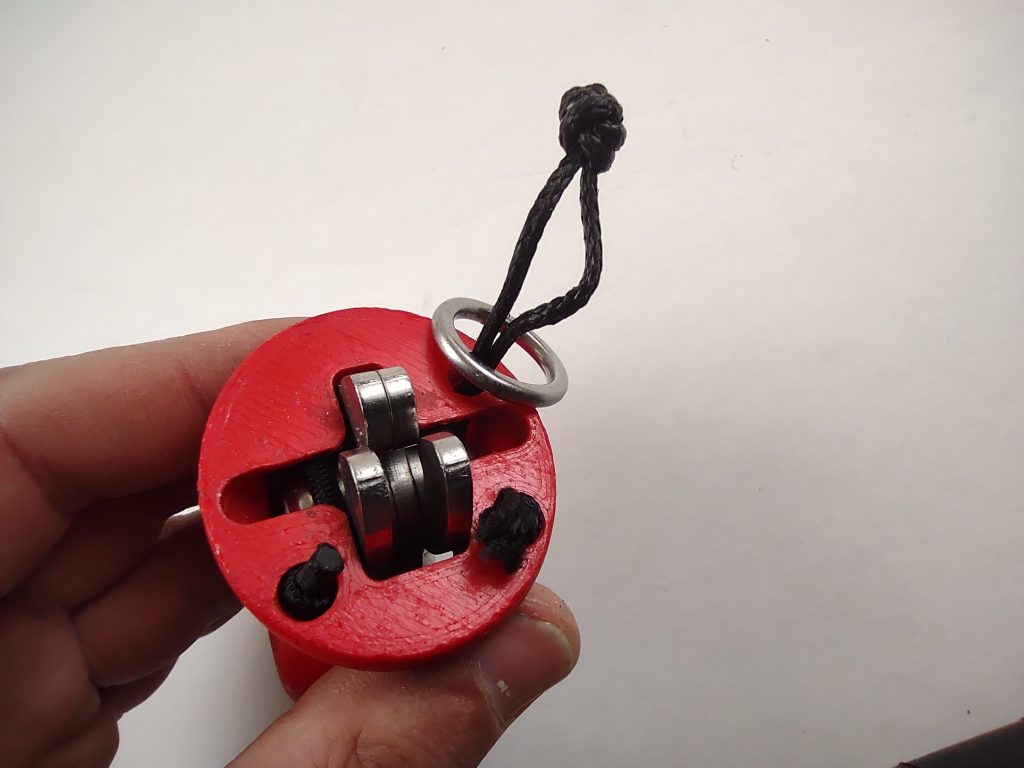
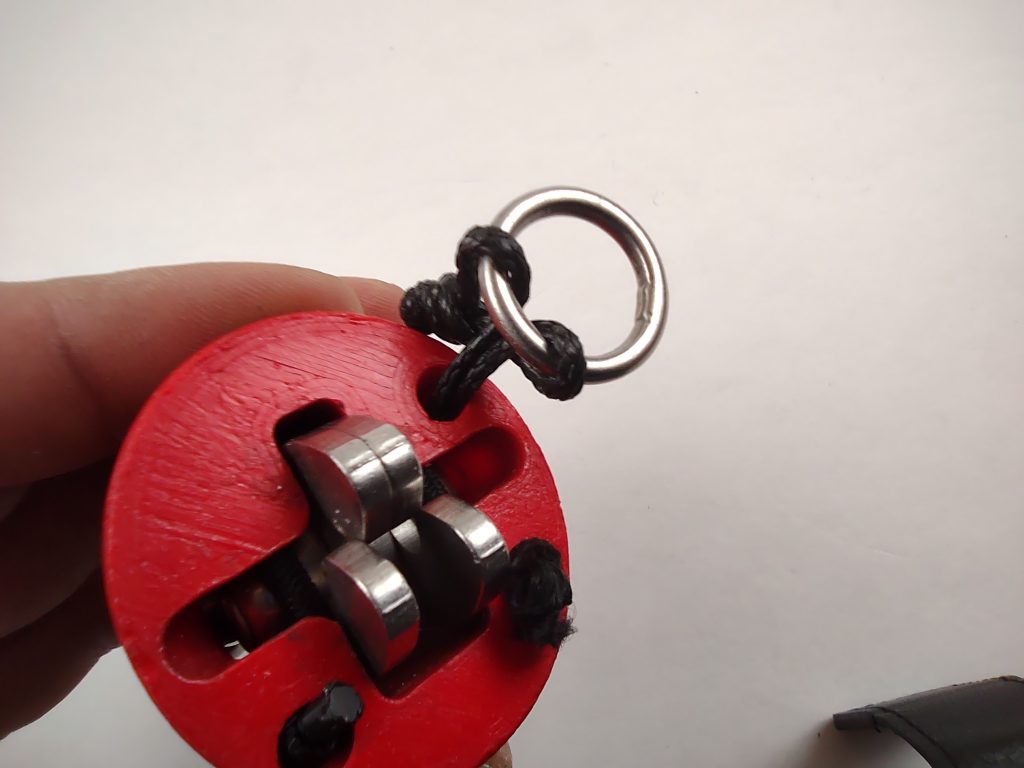
On the 2020 version of the seatbelt Quick release the leash connection acts also as a stopper for the release housing. Without it you can push the release housing too far up, separating it from the quick release. Make sure the leash connection is still in good condition.
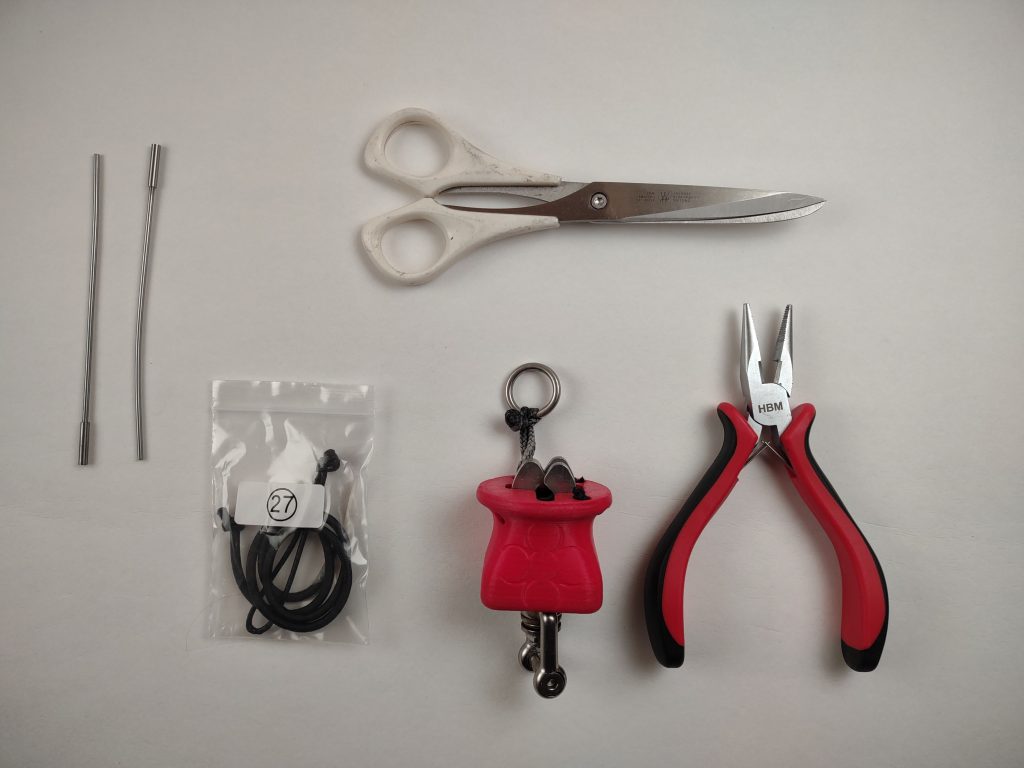
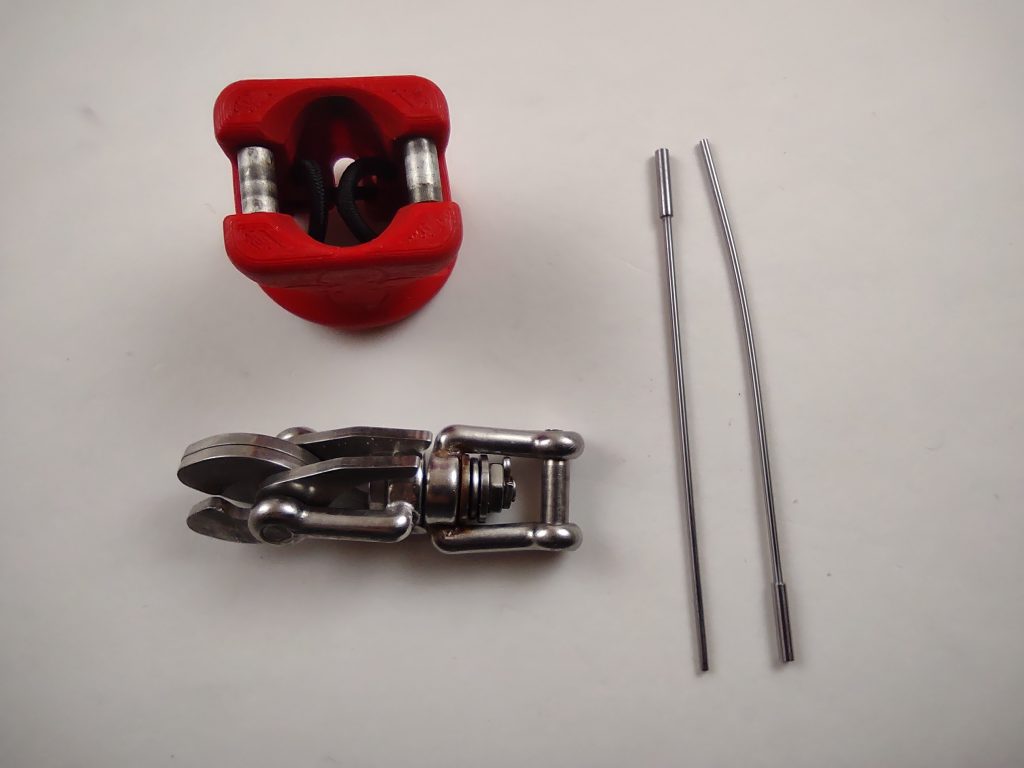
With each seatbelt Quick release we provide a spare bungee and leash connection, here are all the steps to replace them both.
Tools required: Pliers, scissors and two pins/stick out of steel.
If you want to source your own bungee, use one with a webbing on the outside, 3mm thickness and elongation of at least 210% (50cm extending to 105cm)
For the leash connection we use a 1,7mm sk99 550kg line.
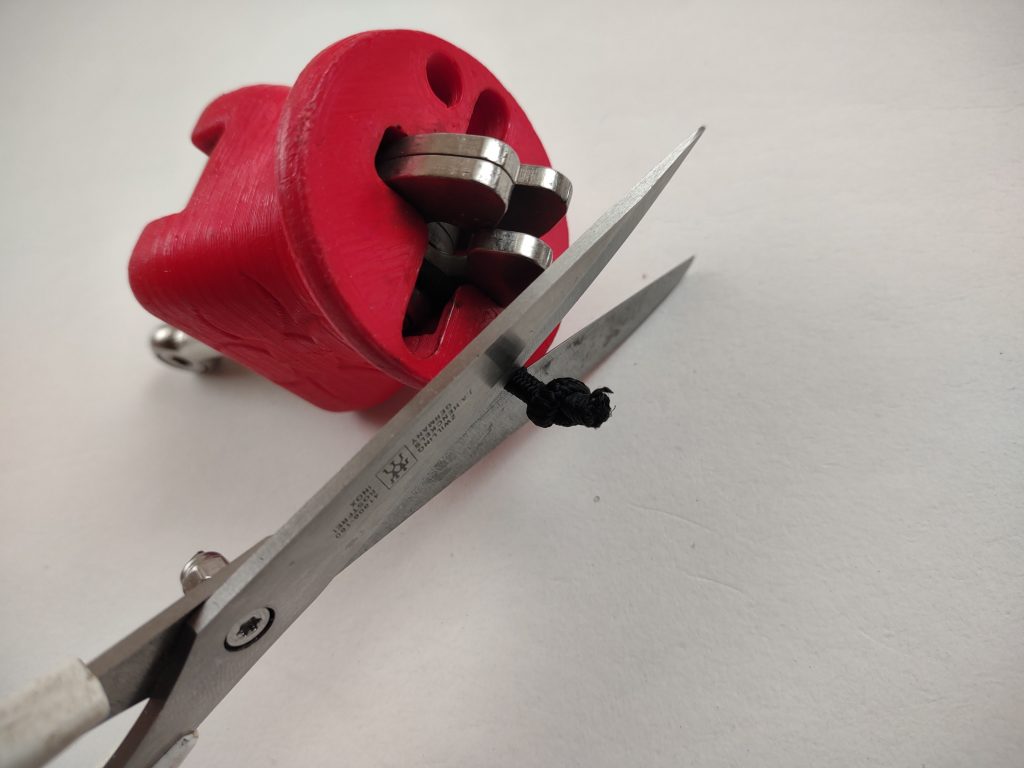
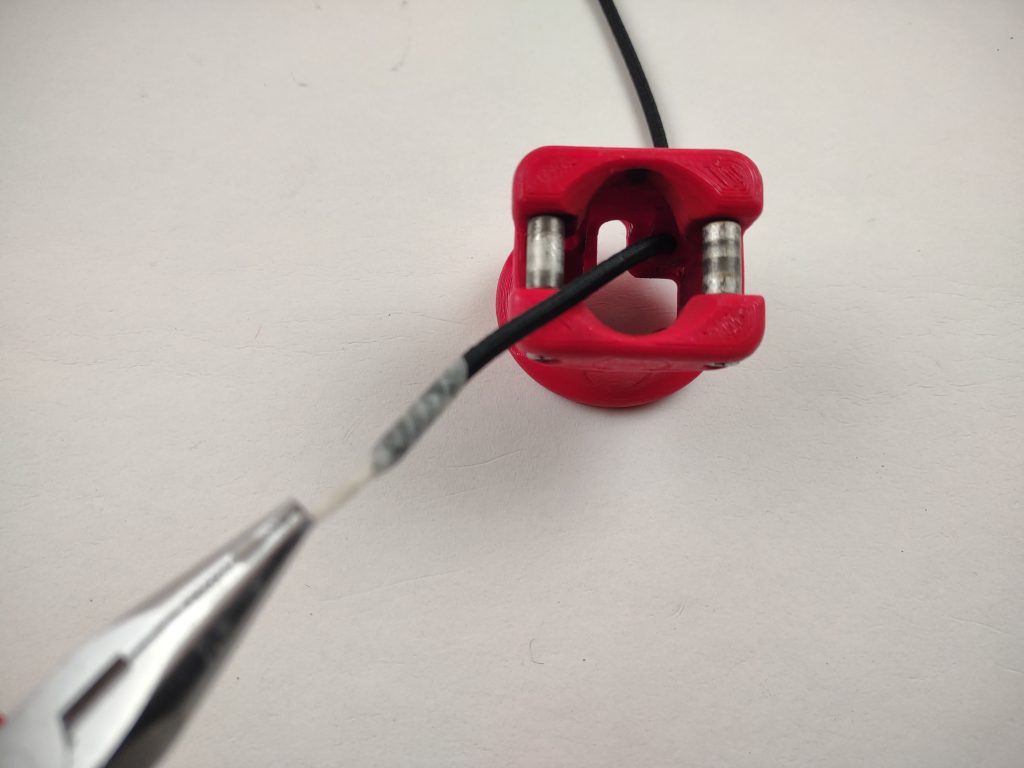
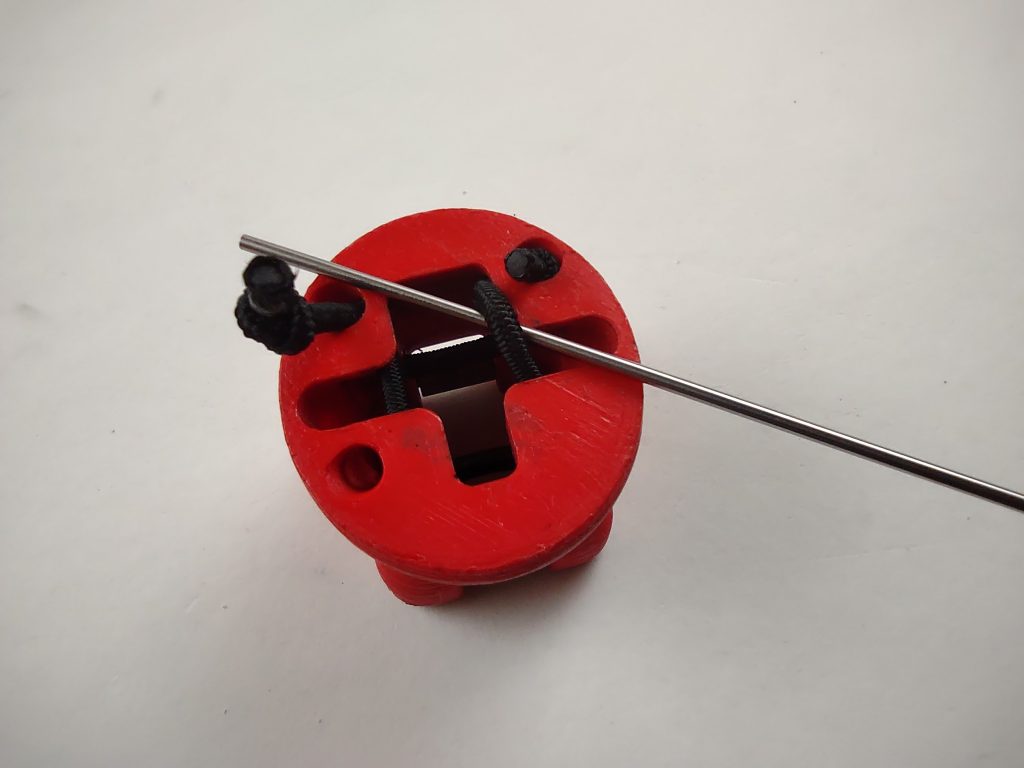
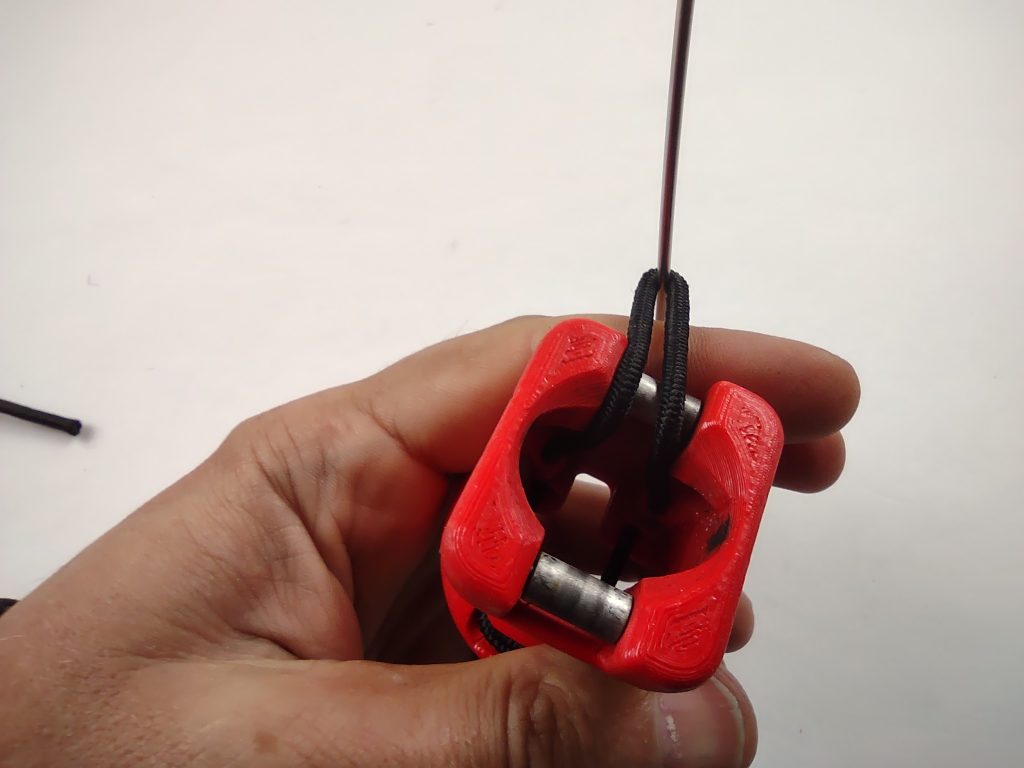
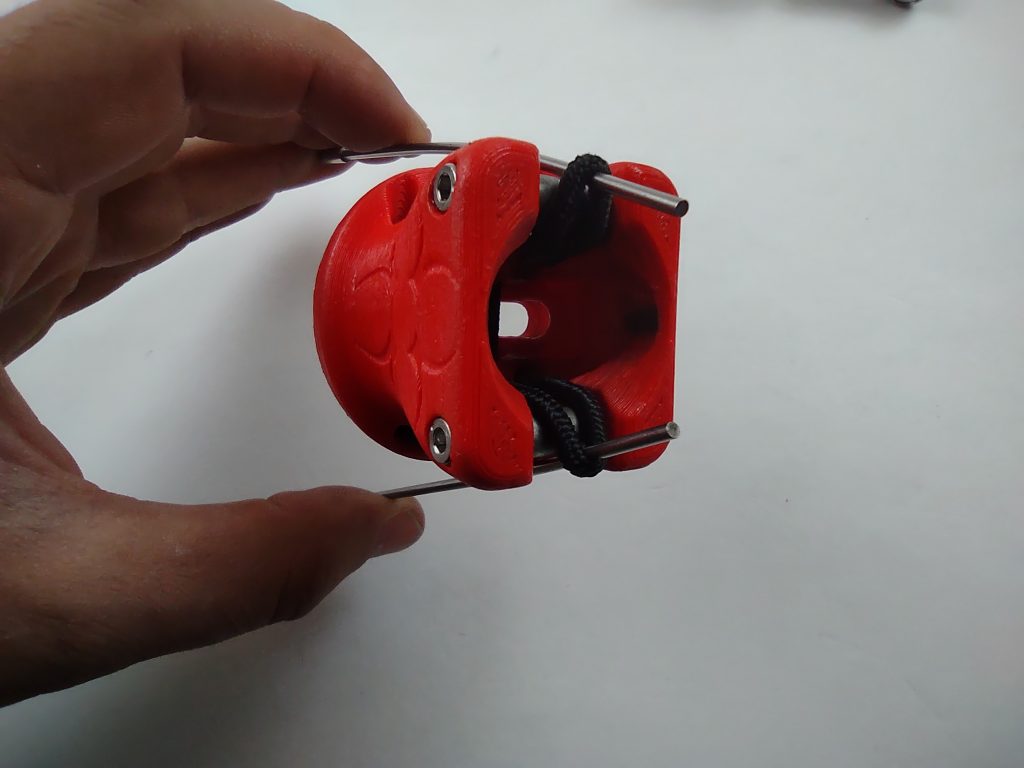
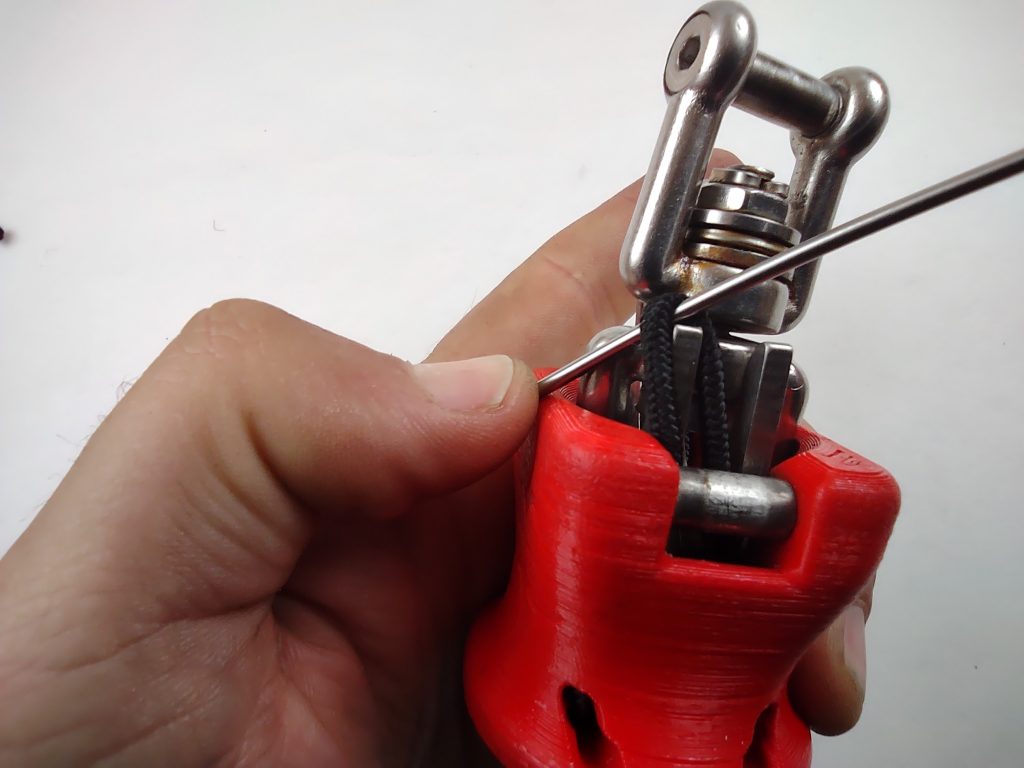
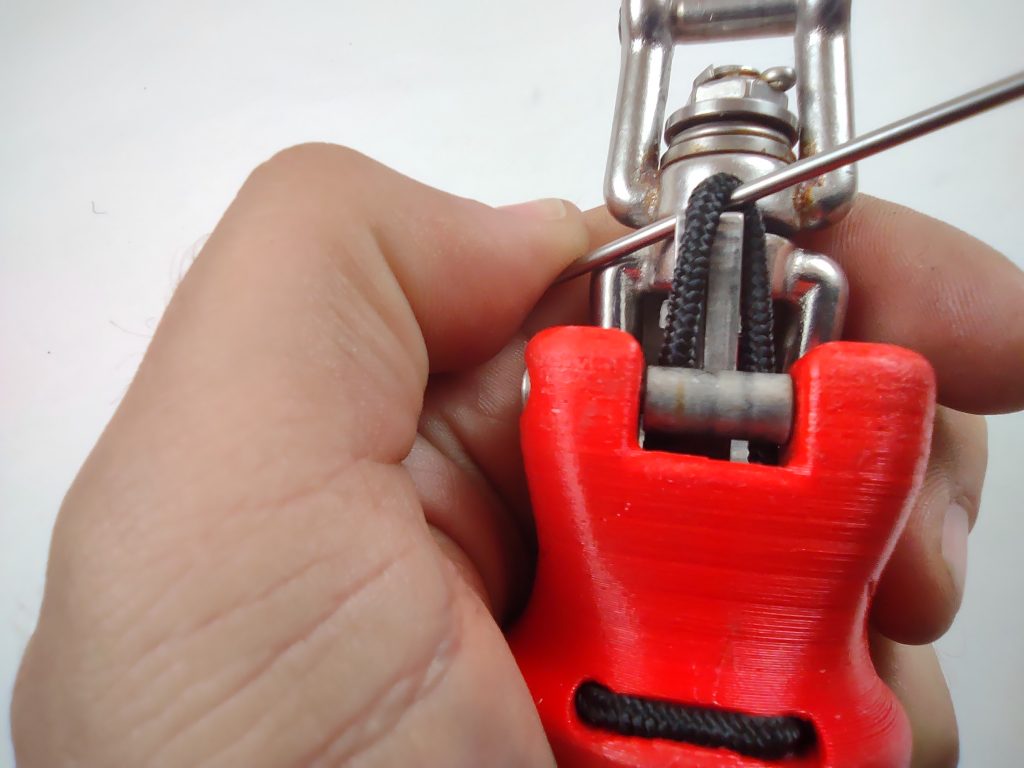
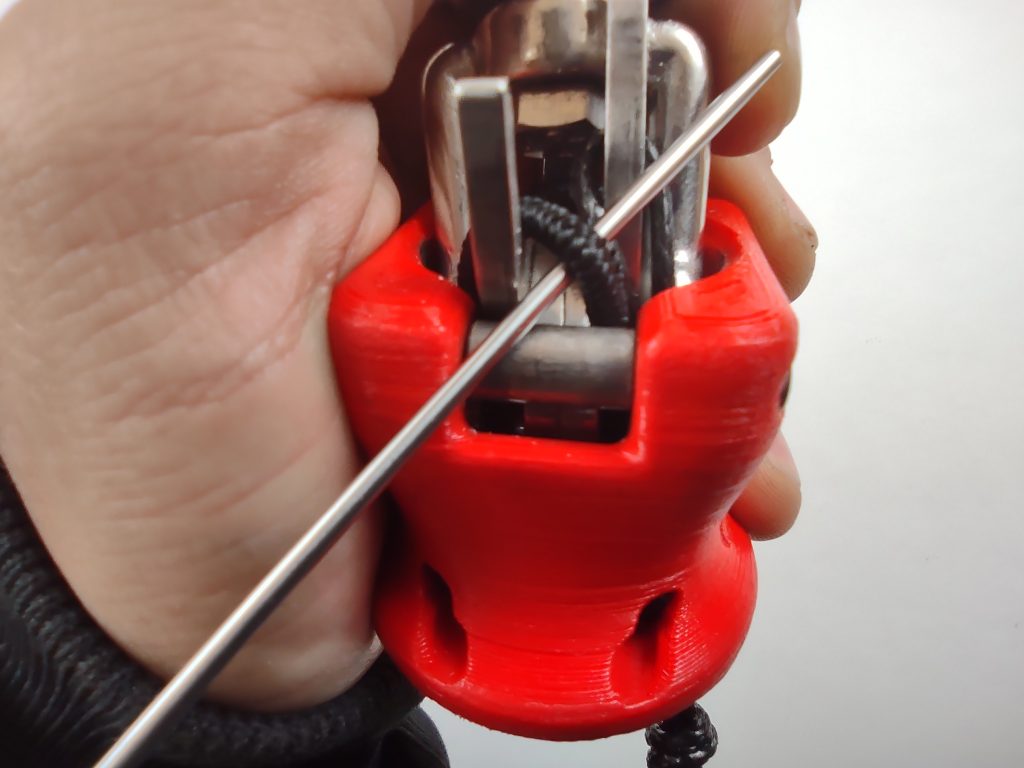
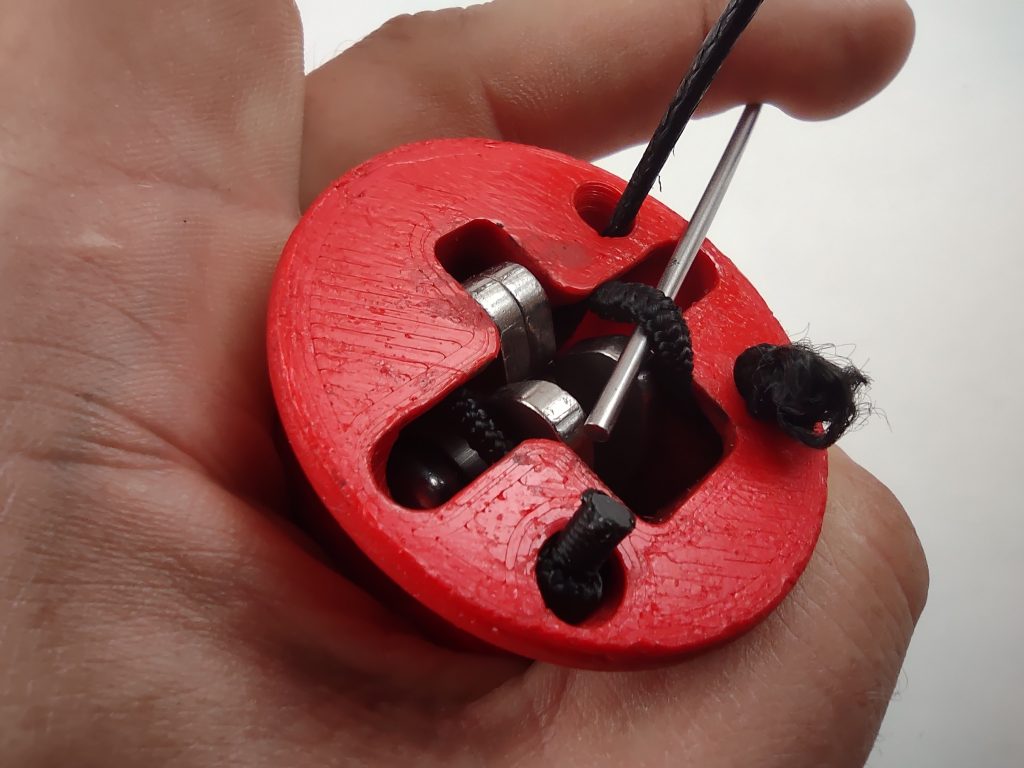
First step is to cut off and remove the old bungee plus leash connection.

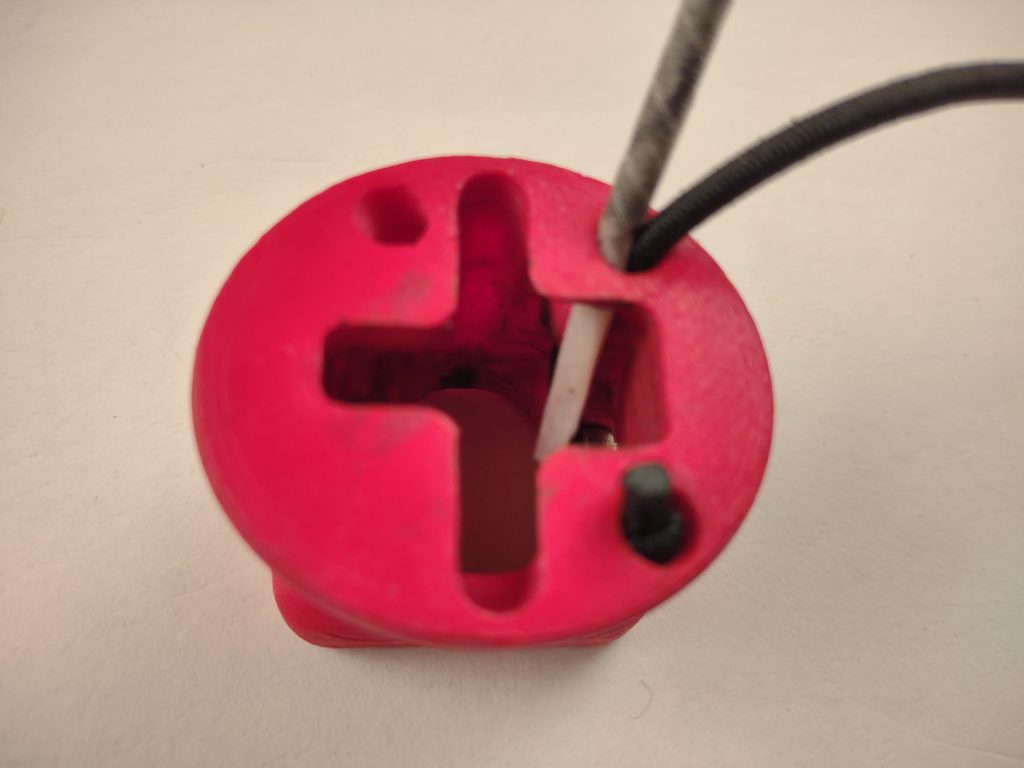
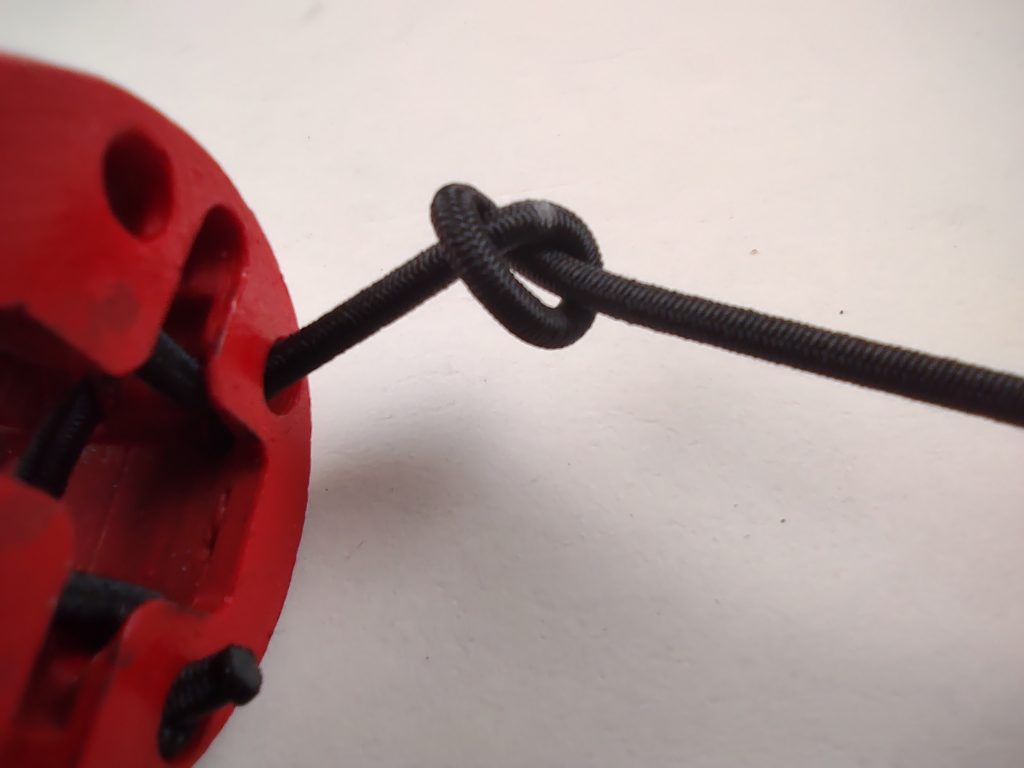
When the red release housing is free of the bungee and steel parts you can weave the new bungee through. Make sure there is an indication for the final knot visible 16cm away from the knot at the end.

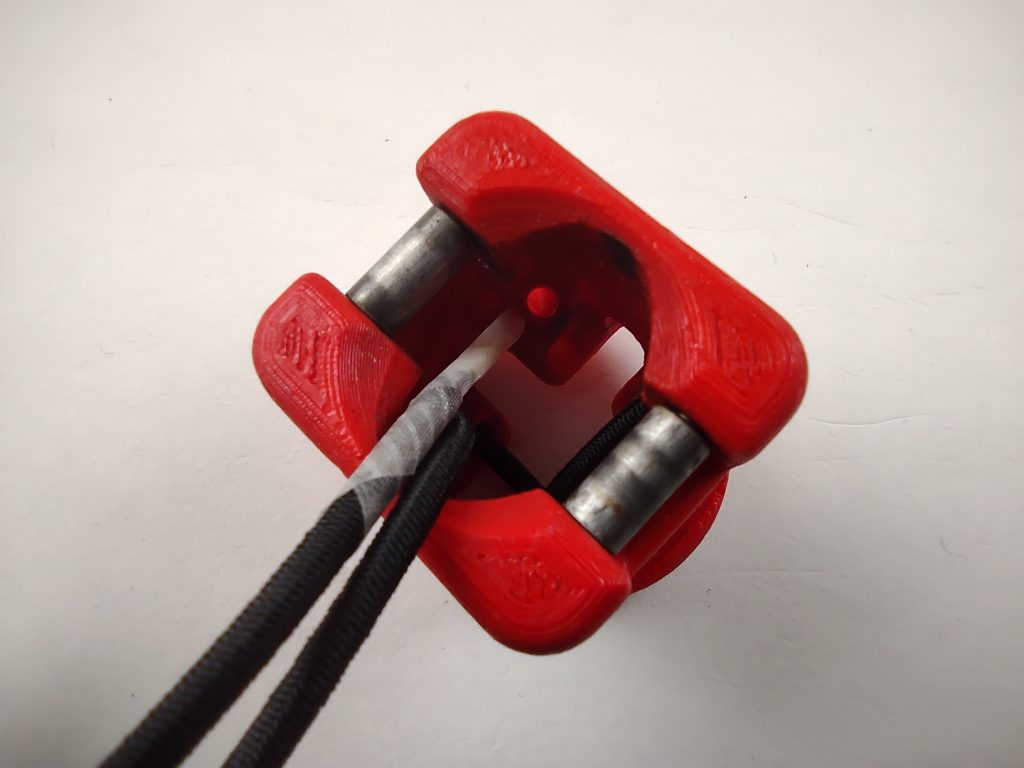
Now you can start with pushing the taped end of the bungee through this hole:

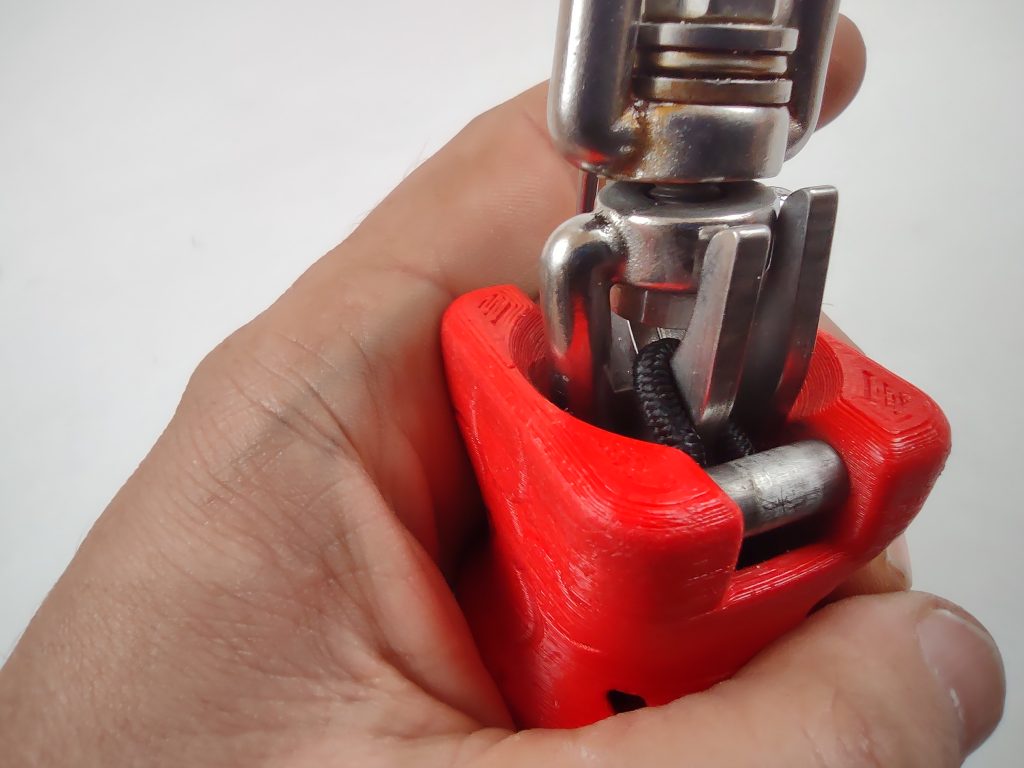
Grab the tape with the pliers and pull the bungee all the way through until the knot sits deep inside it’s hole.
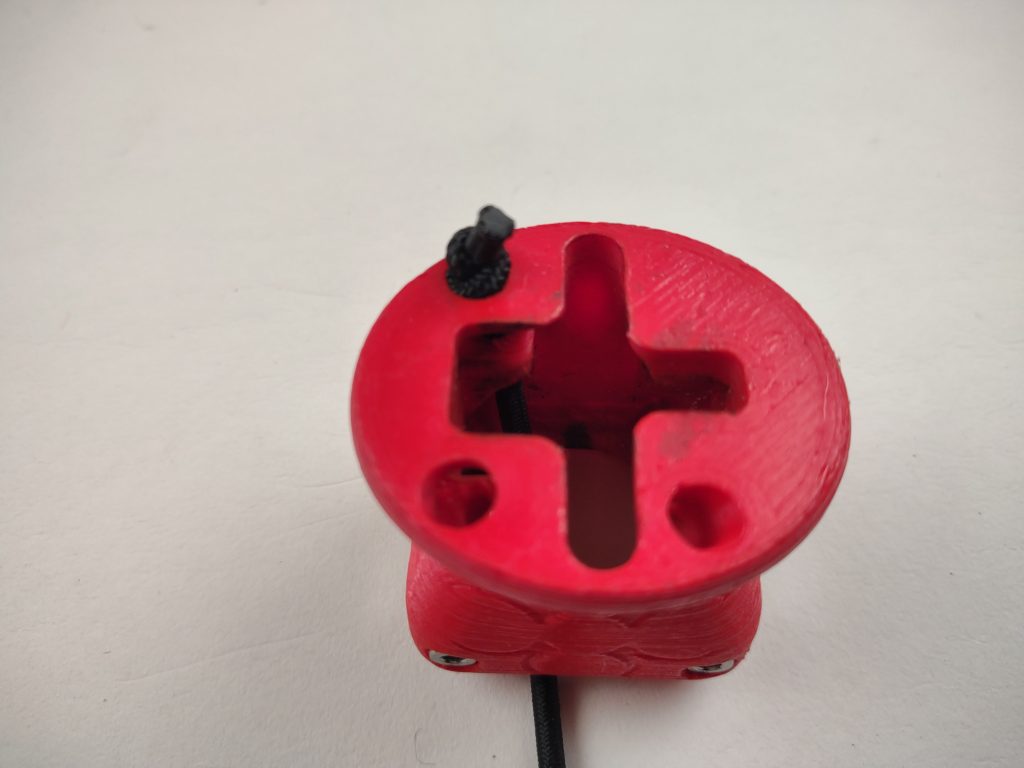
The knot needs to sit inside the hole:
Insert the taped end into the hole on the opposite side and pull the bungee all the way through, there doesn’t need to be any tension in the bungee at this stage.

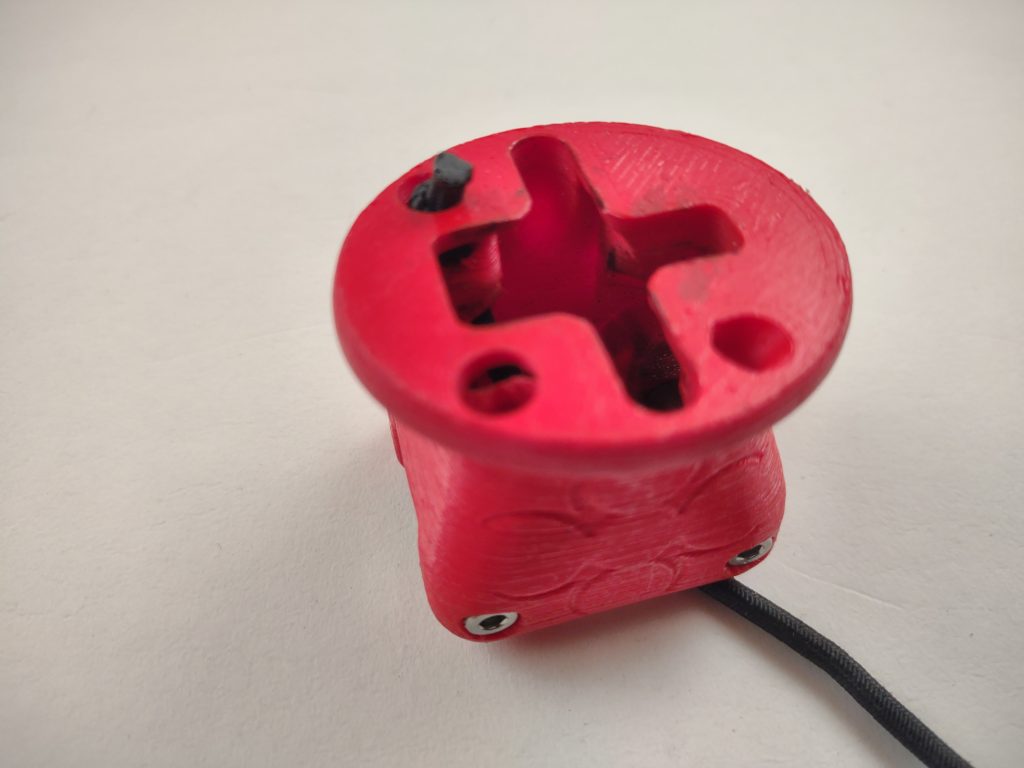
Push the bungee back through the top half of the same hole, getting it to stick out into the center of the release housing.
Now weave it through the horizontal hole beside the leash connection hole.
And now back into the lower half of the hole on the side that leads to the bottom of the release housing. You may need pliers to pull it out of the bottom.
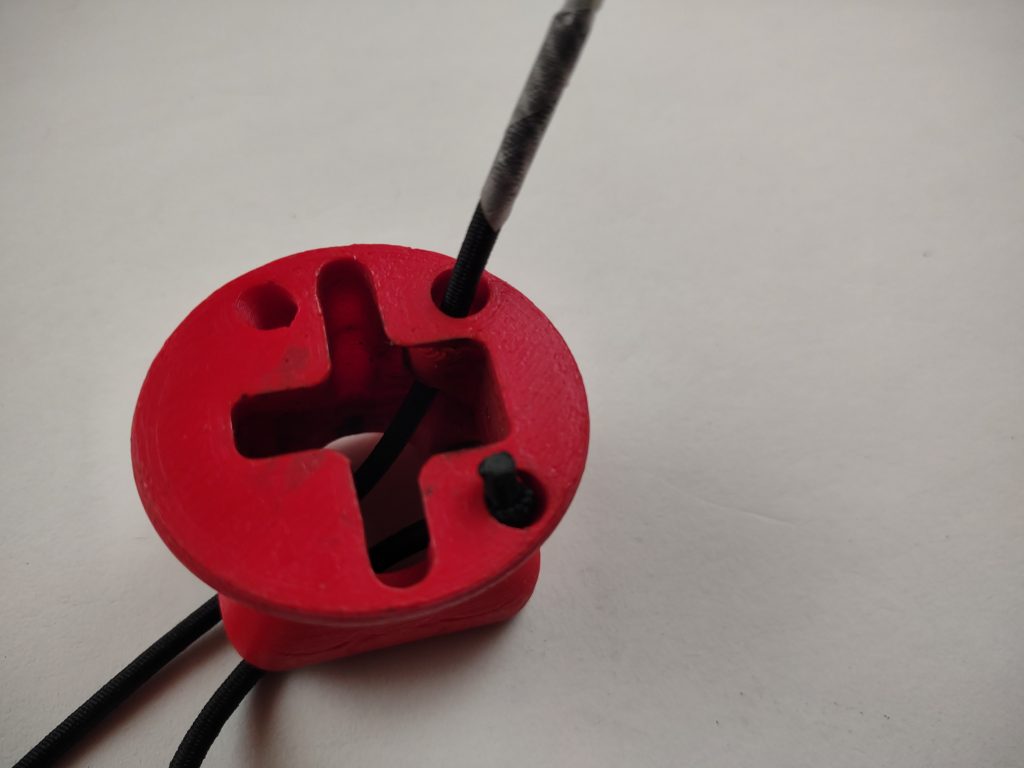
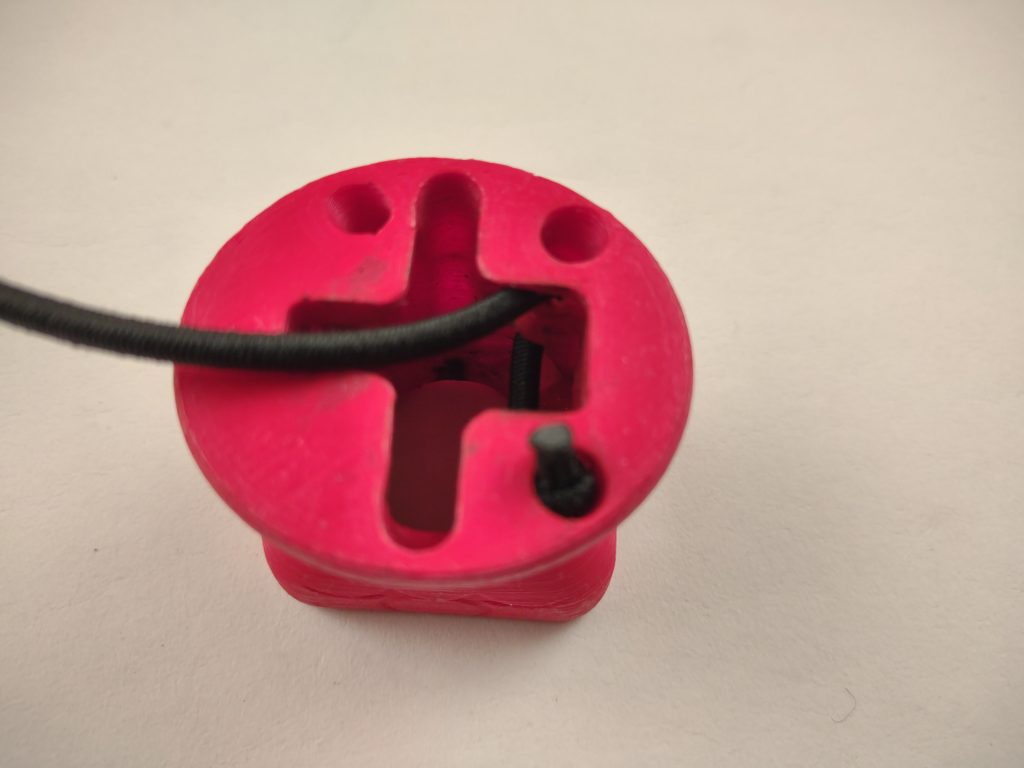
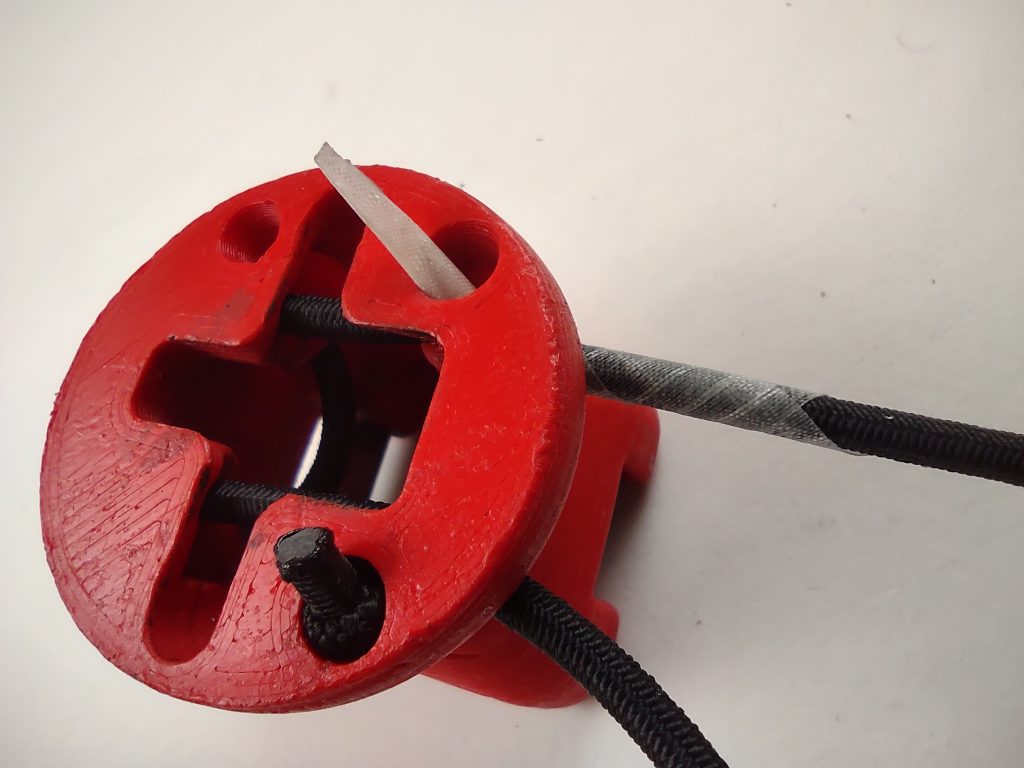
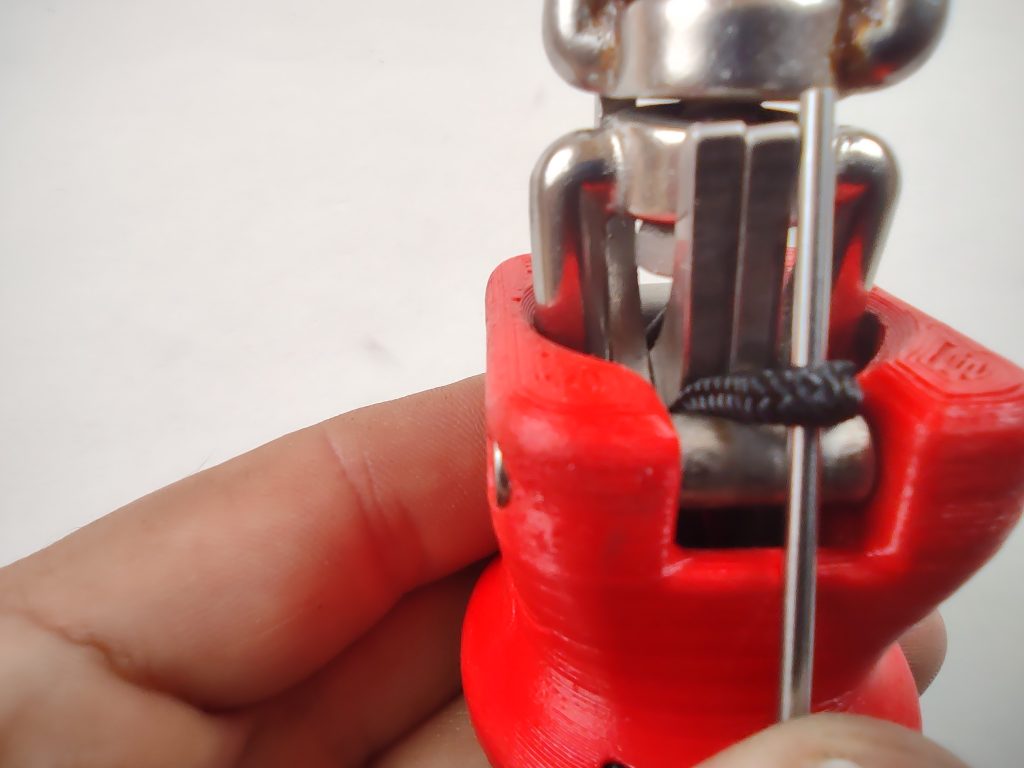
Pull the bungee all the way through again and insert it into the last remaining hole.
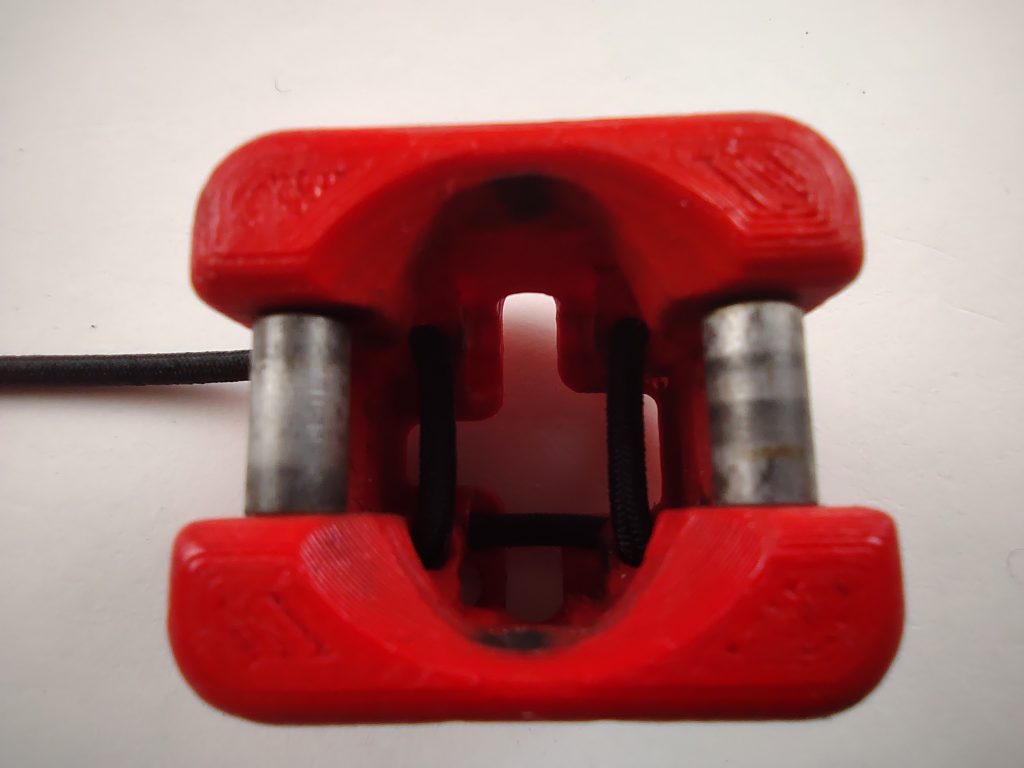
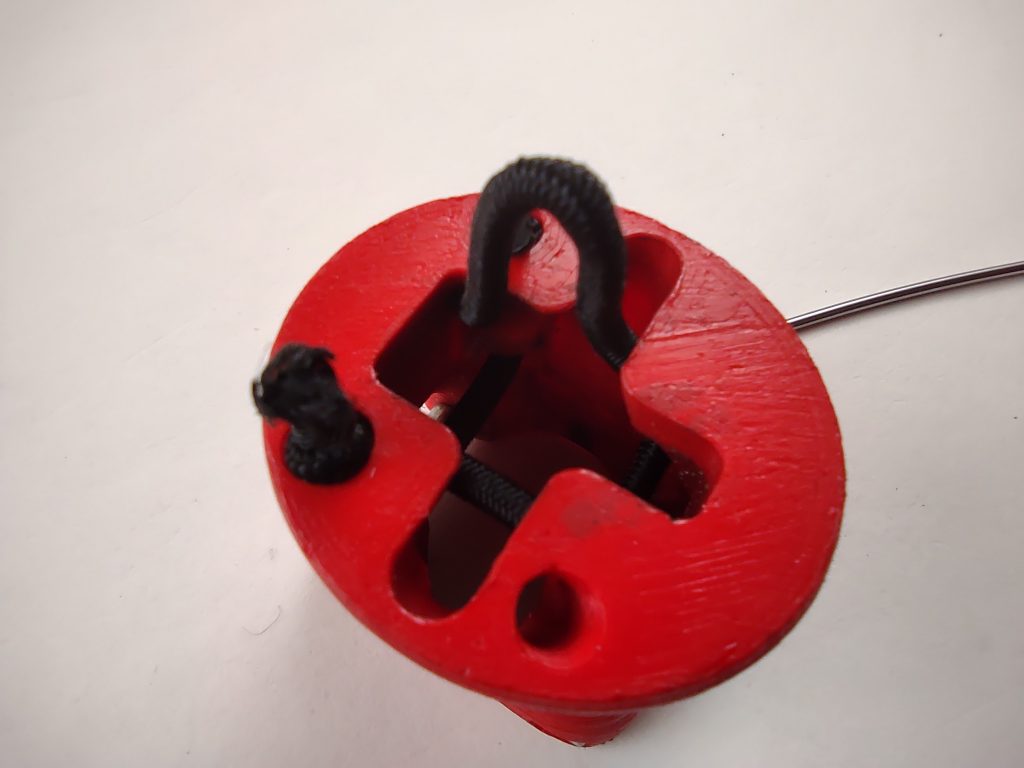
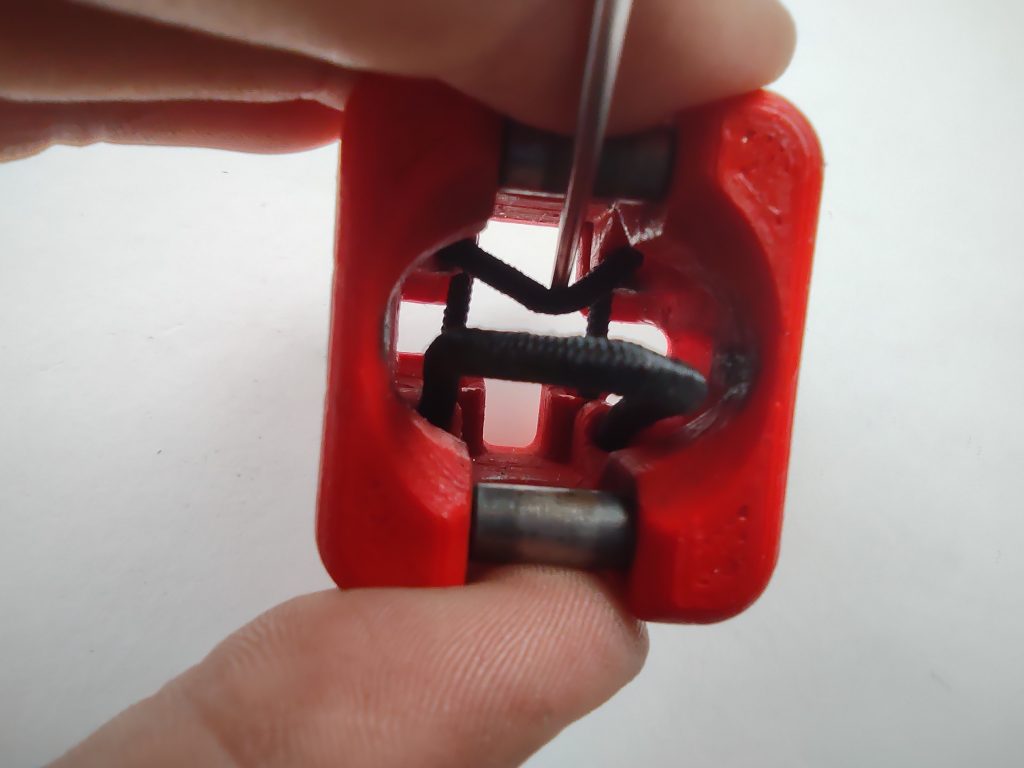
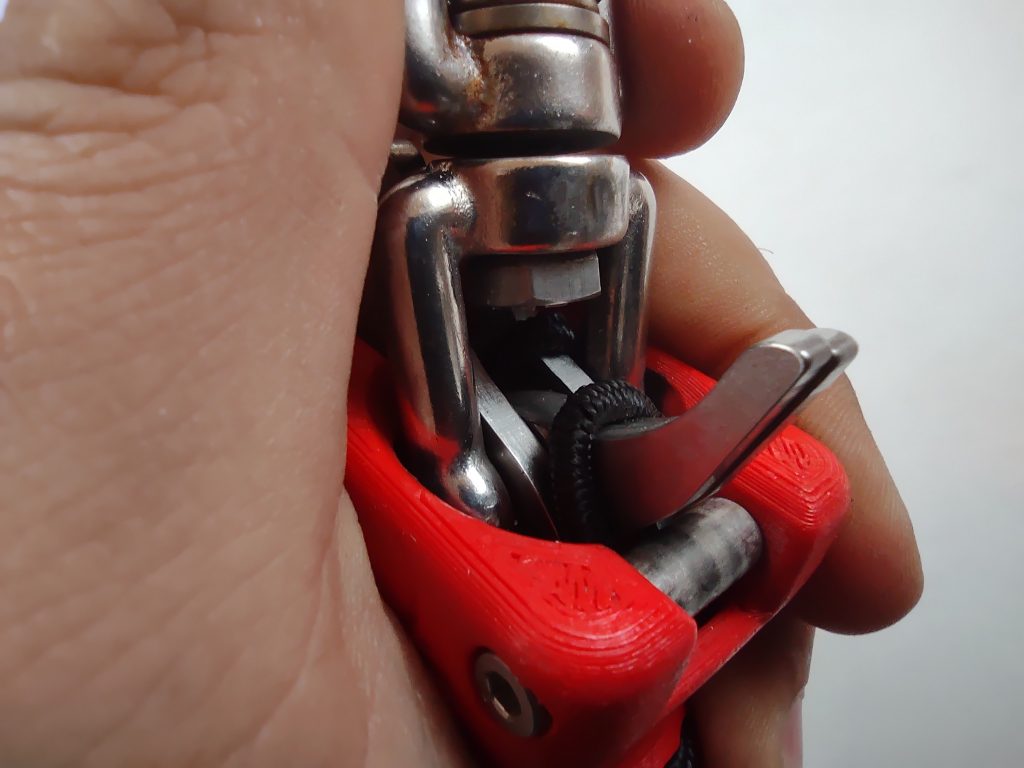
Pull the bungee through, the inside should now look like this:
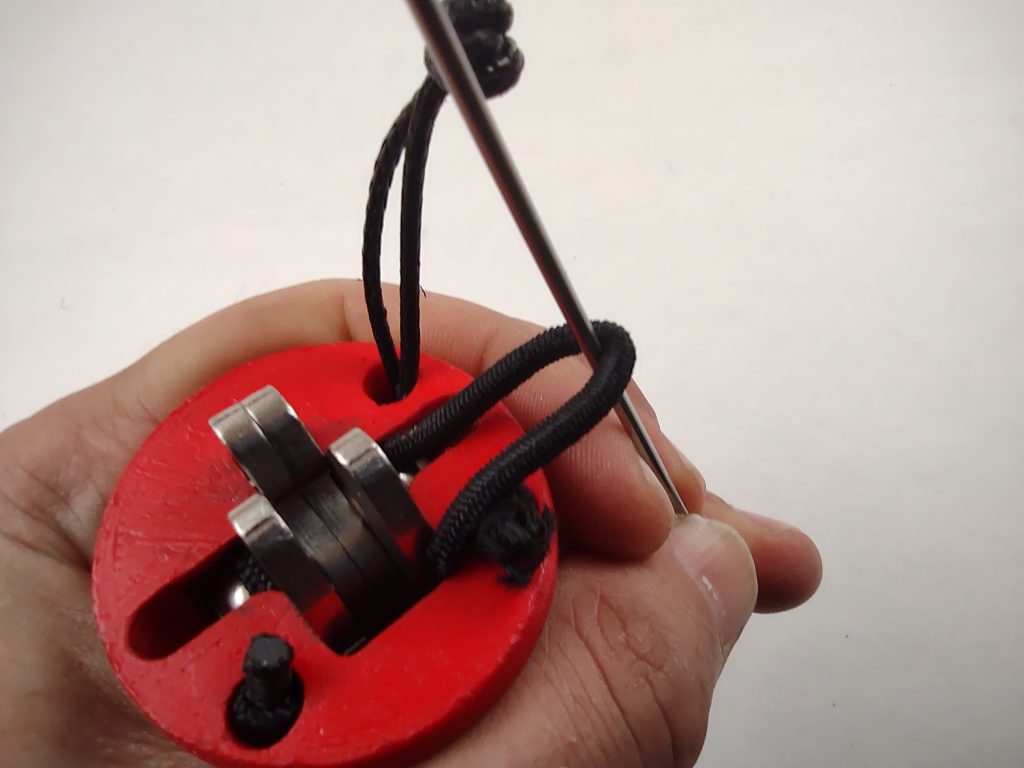
Insert the bungee back into the top half of the through both horizontal holes.

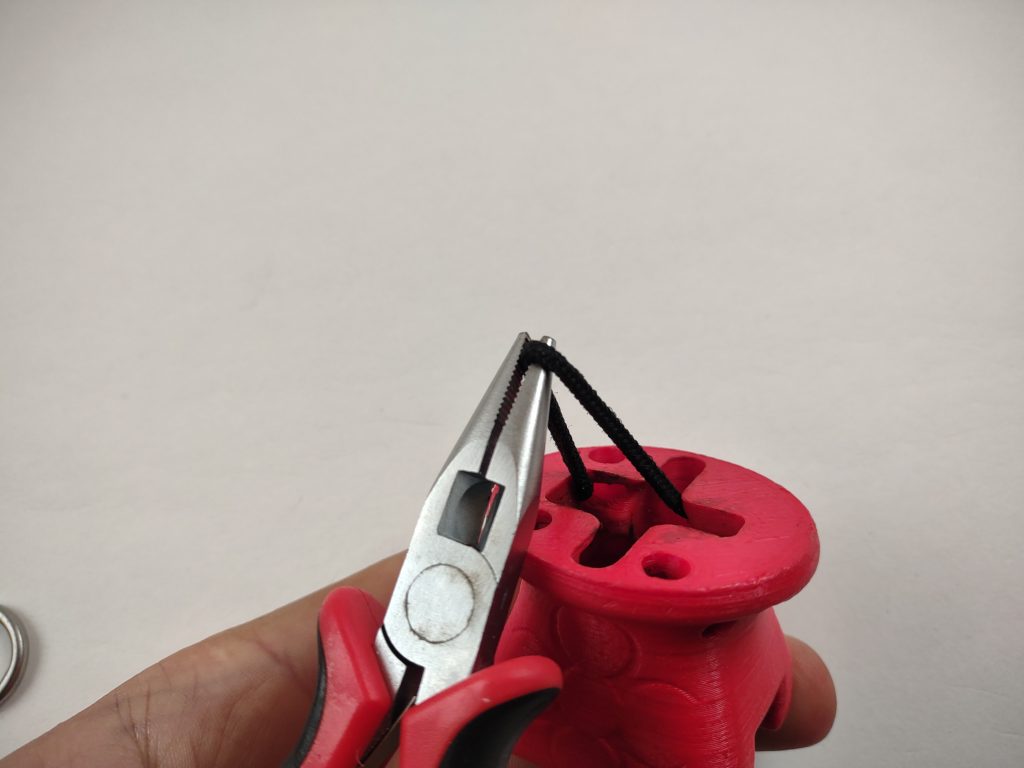
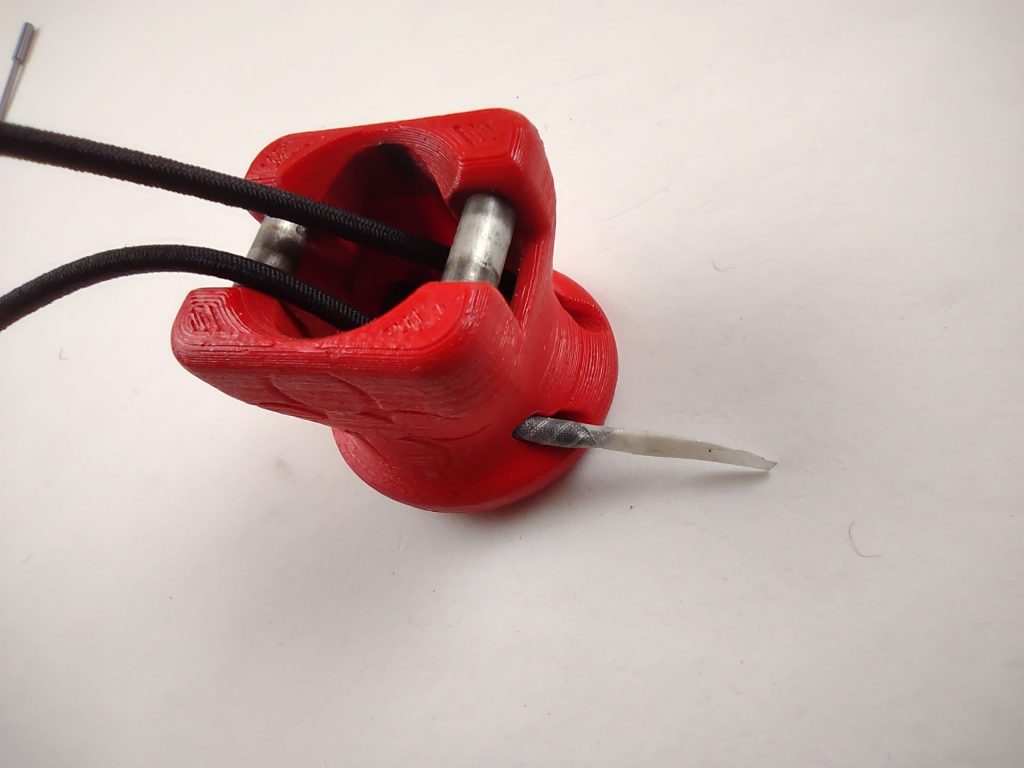
Pull the bungee through and insert it into the hole on the other side of the slot and make it stick out of the top. Can be that you need to bend the point of the tape to make it to stick out of the top hole to grab it.
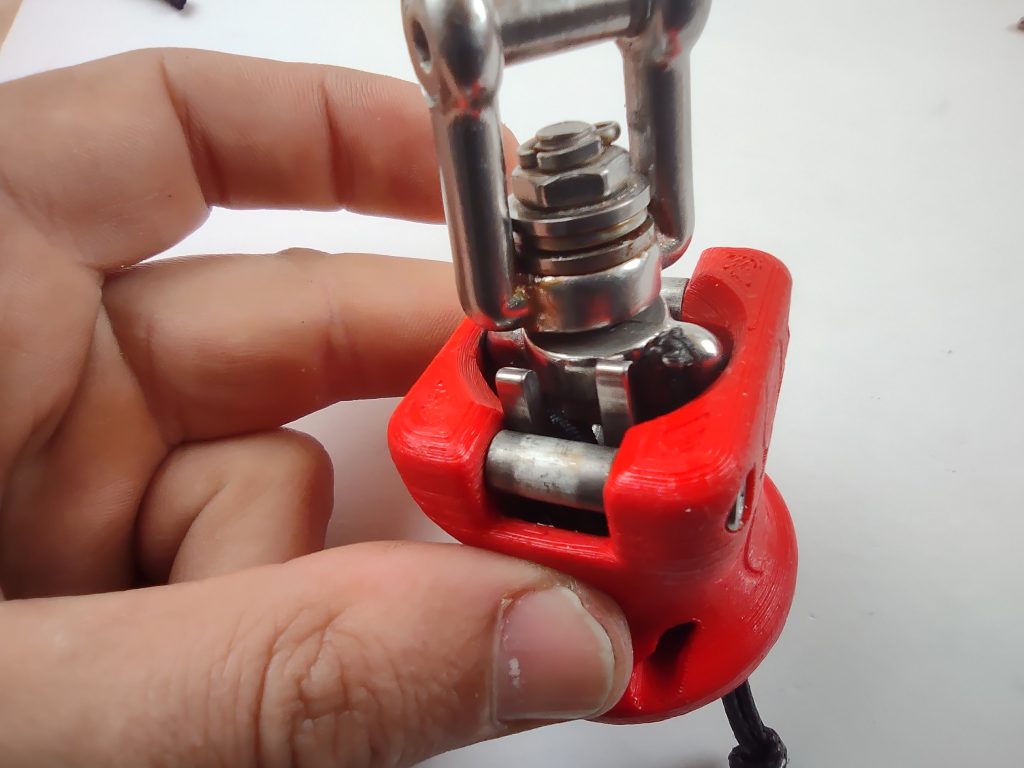
After you pull the bungee through the indicator for the knot should stick out far enough to lay an overhead knot against it.
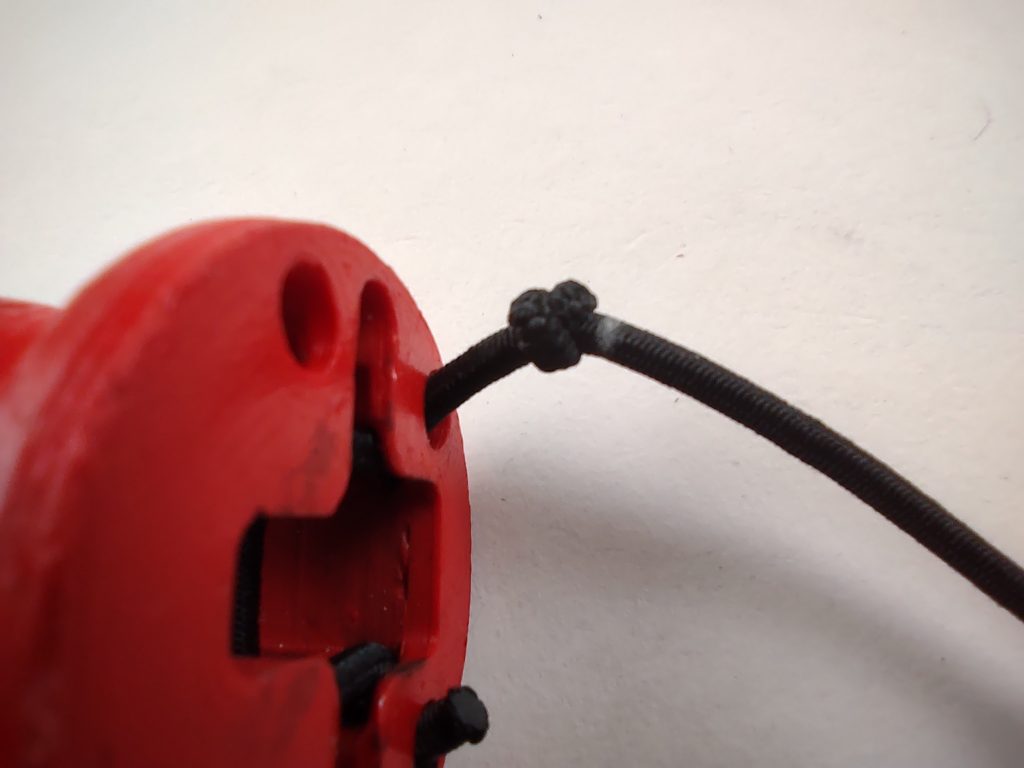
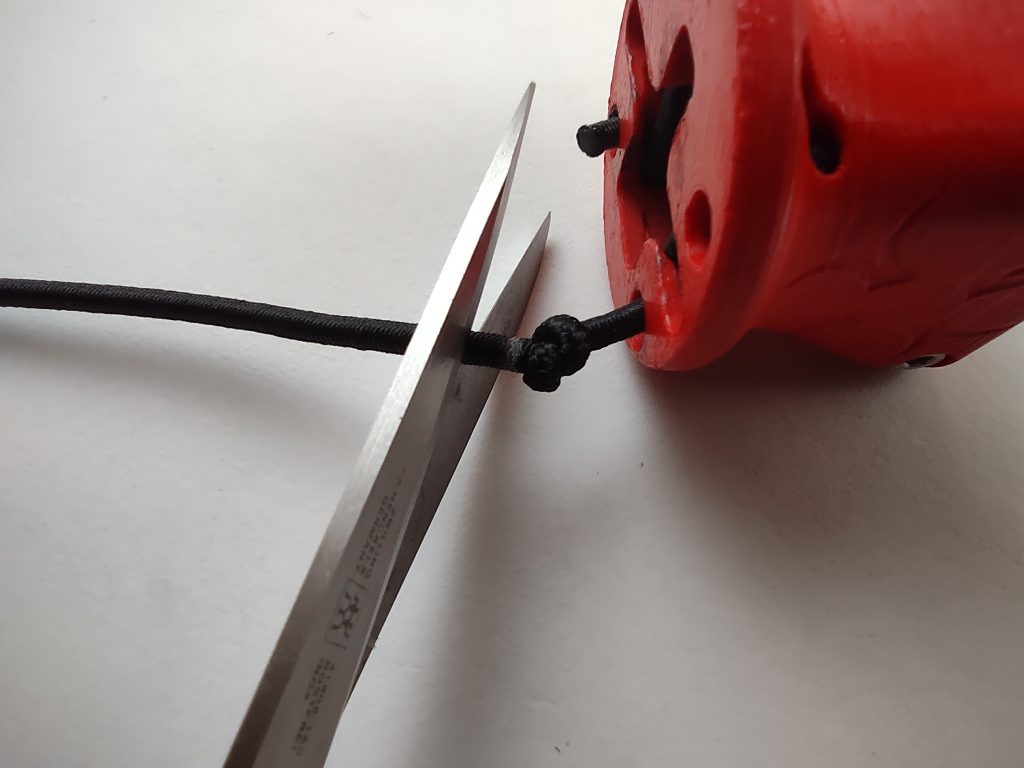
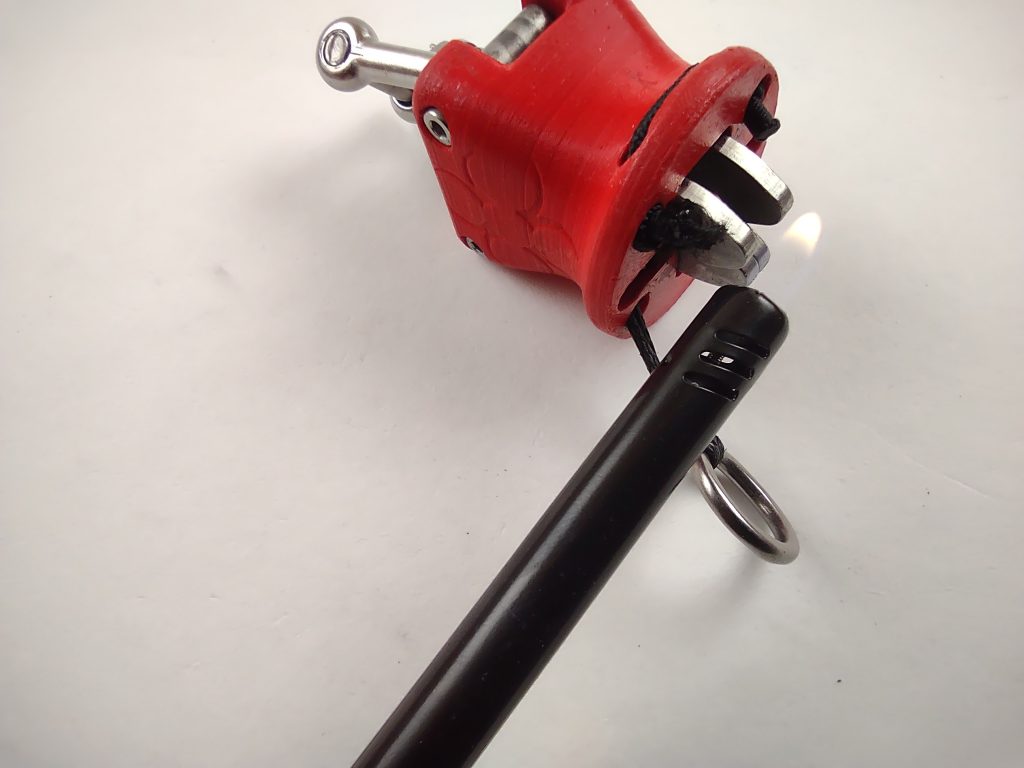
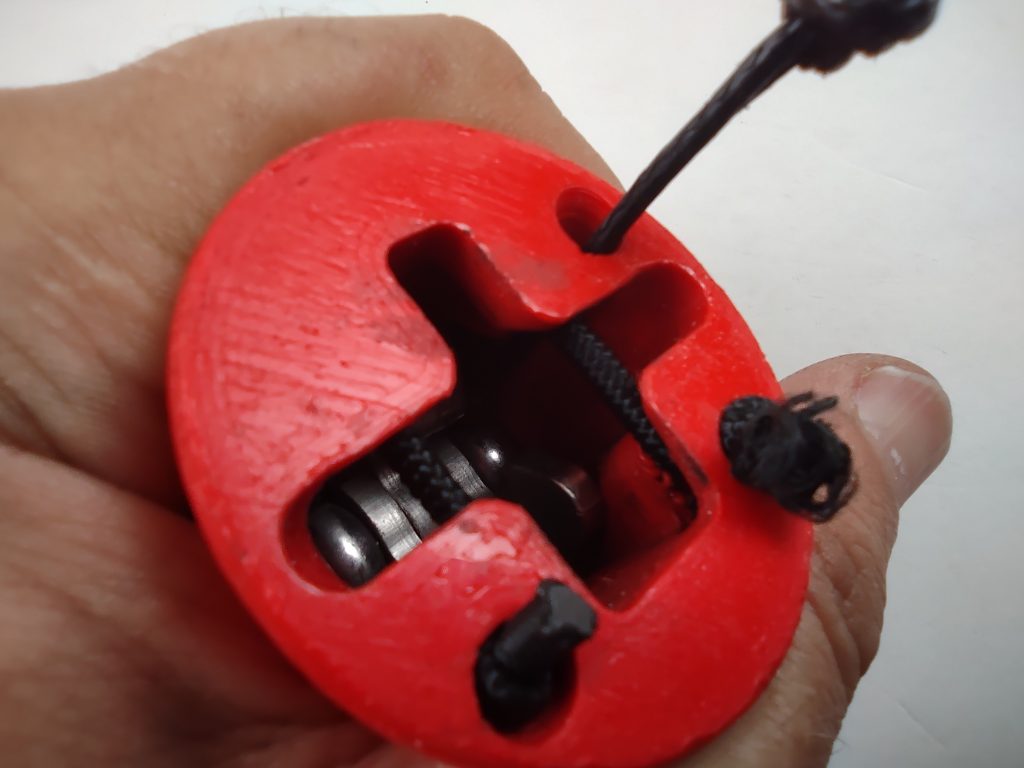
After you pulled the knot as tight as possible against the indicator cut of the remainder of the bungee 5mm from the knot and melt the webbing to keep it from fraying. Any remainder more than 20cm is usable for another bungee replacement.
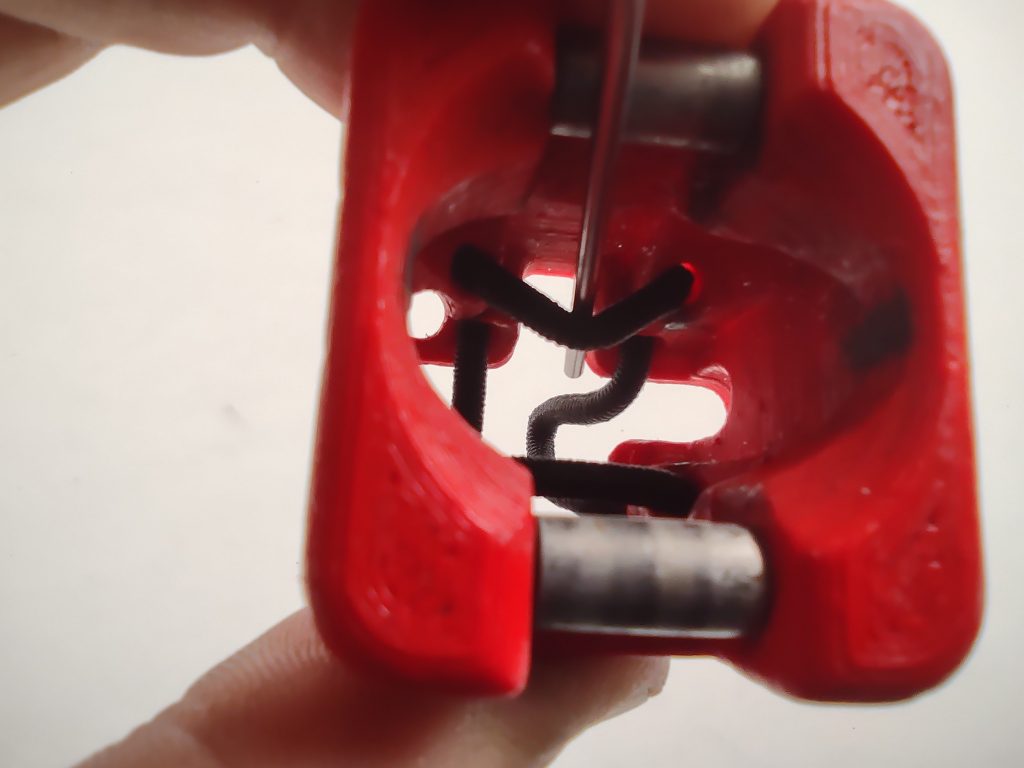
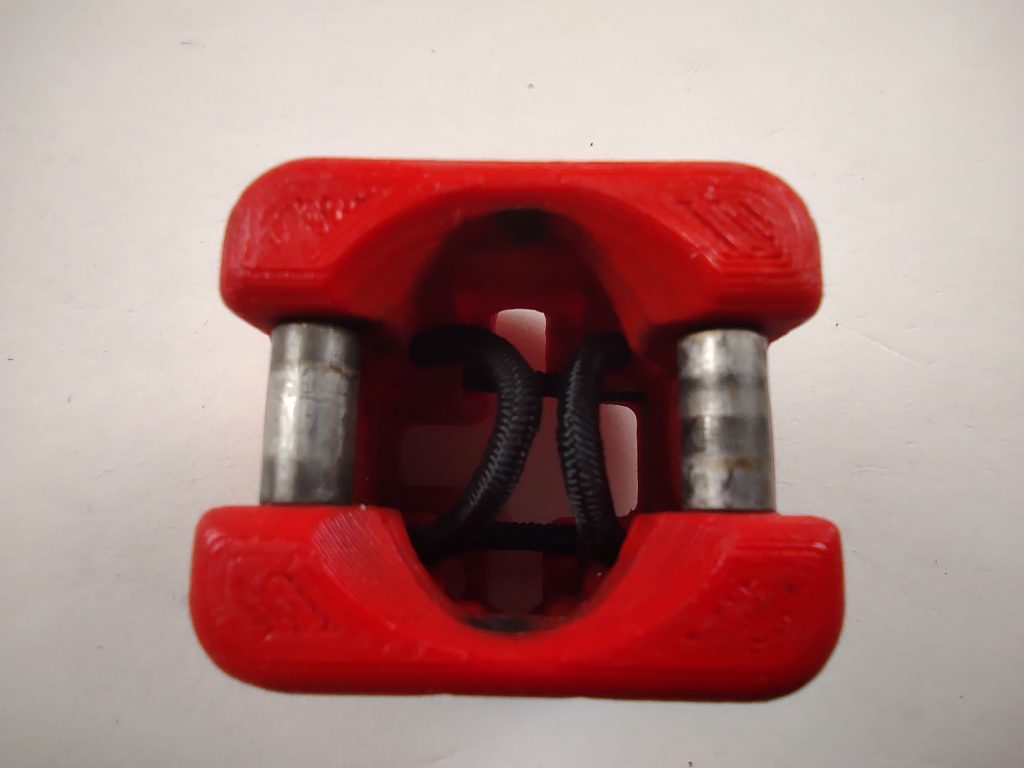
With one of the steel sticks (or any other max 3mm thick strong stick) pull the bungee back through the release housing, start with the horizontal bungee opposite to the knot that sticks out. You may apply some force to pull the knot into it’s hole.
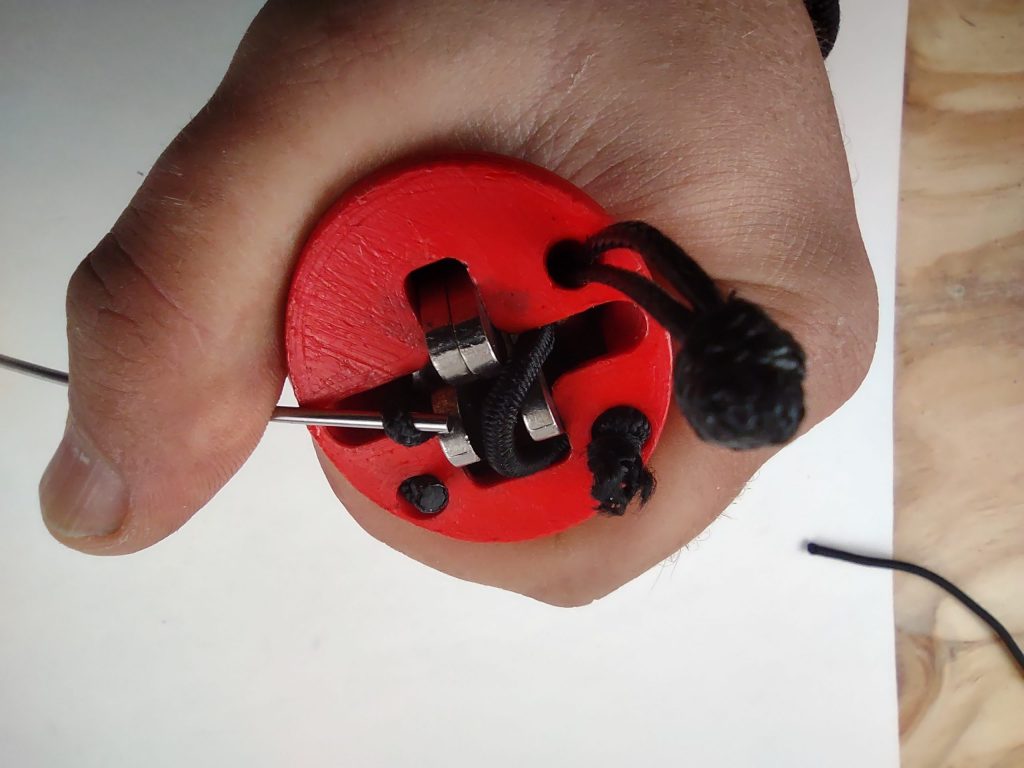
Flip the housing and pull on the bungee opposite to the leash-connector hole, adjacent to loose horizontal bungee. Pull until the horizontal bungee is tight but don’t overstretch it!
Now grab the opposite bungee on the inside and pull until both are roughly the same length.
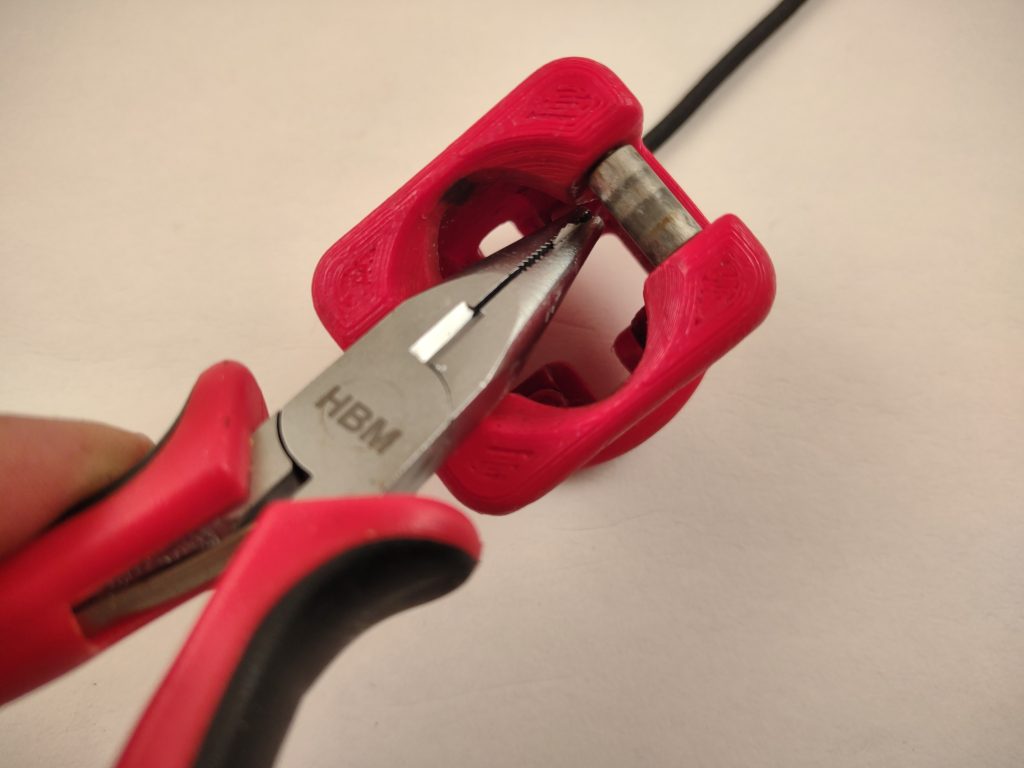
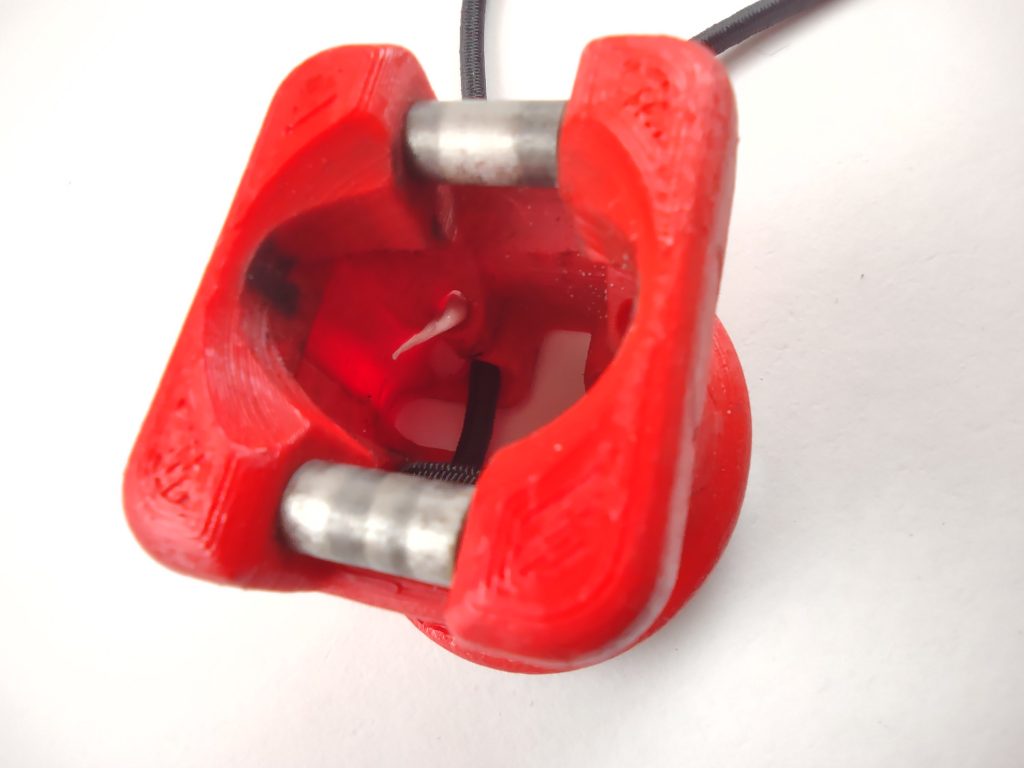
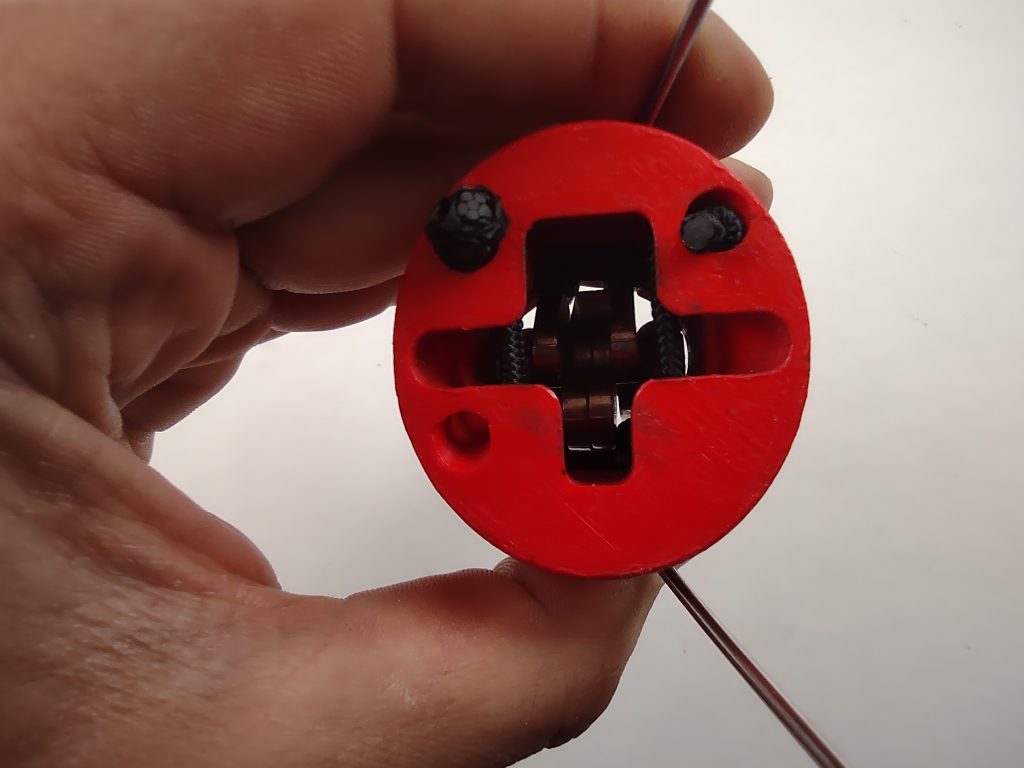
Now grab the second stick and steel core with claws of the quick release. This is a good moment to check if all 4 claws are still moving freely, wash and remove any dirt or even loosen the bolt that keeps them in place (make sure to re-apply the tread locker to keep the bolt locked) to make them move unobstructed.
Pull both inside bungees out and fold the sticks to the side over the rollers like this:
Now insert the core with the claws. There is only 1 way it fits the housing slits in the top, make sure to insert it in the correct orientation with the two adjacent claws going through the smallest slit.
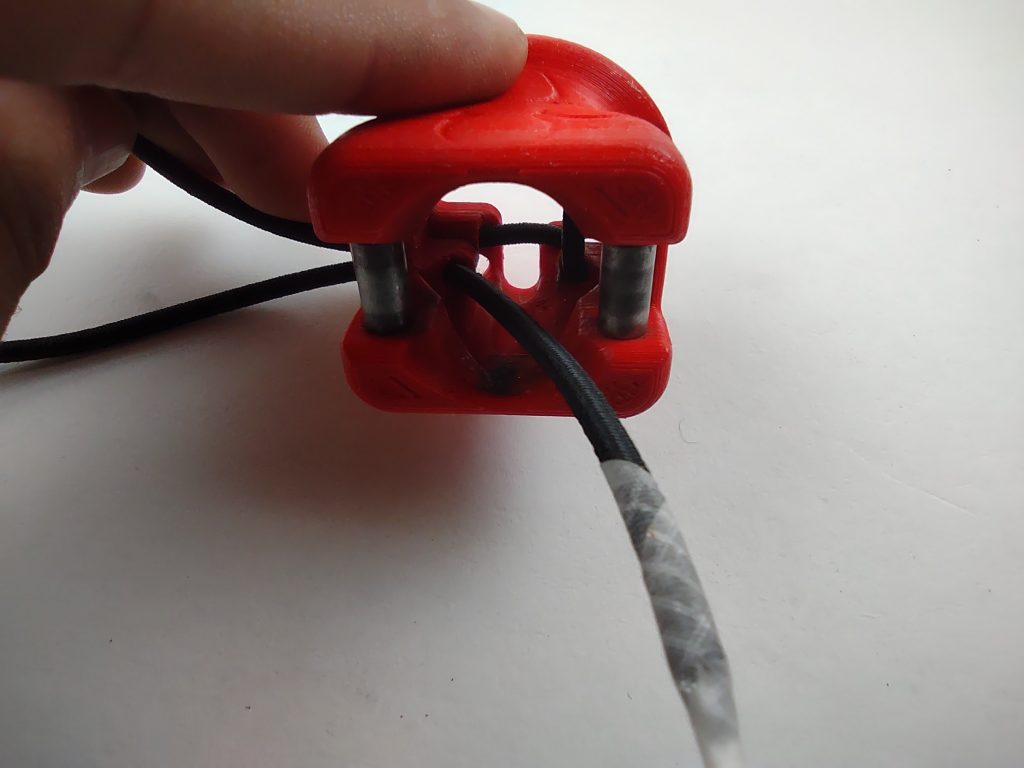
Now pull the bungee over the claw furthest away from the leash-connector hole.
Pull the other bungee over the two adjacent claws.
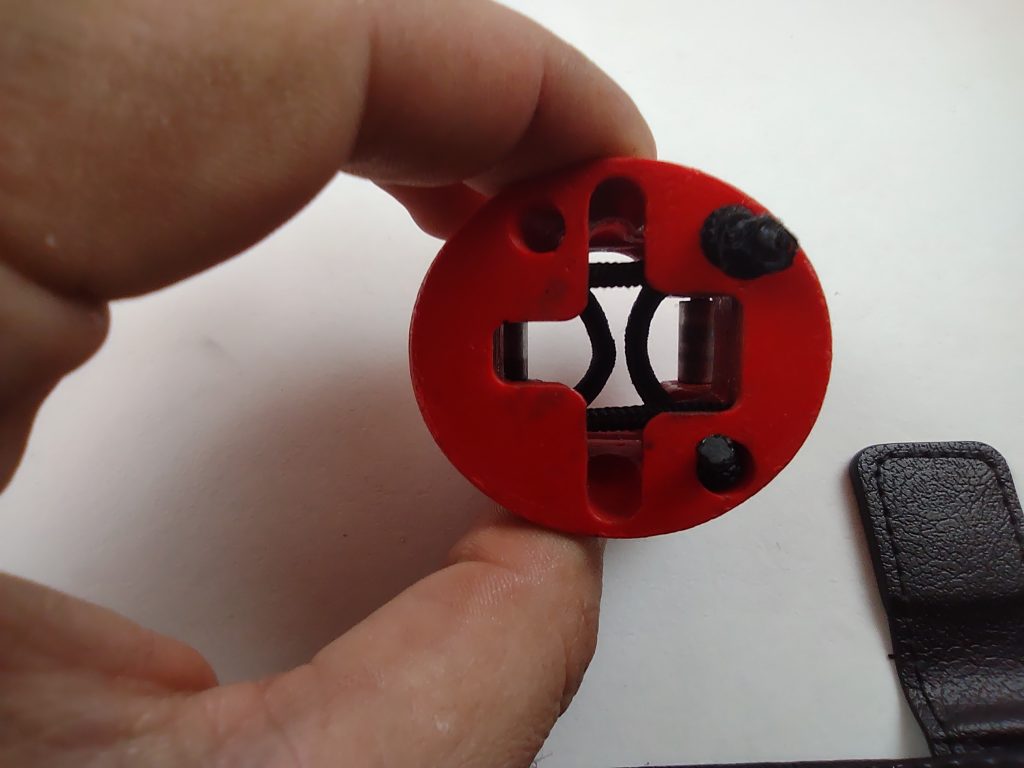
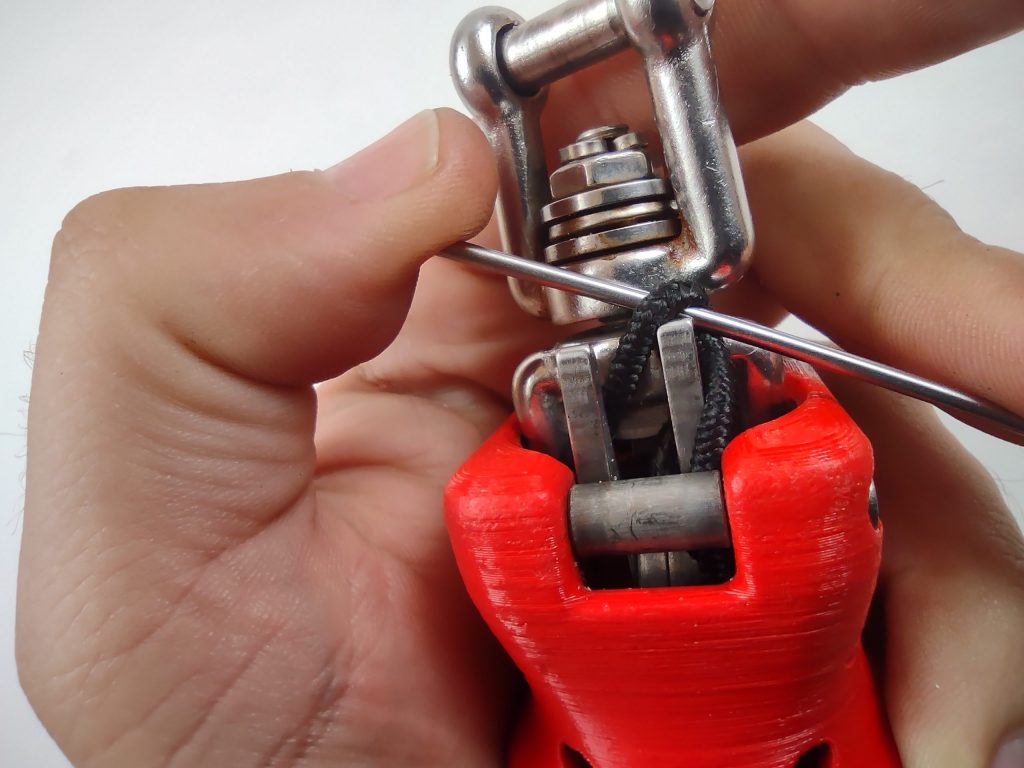
Now put the leash-connector rope over the one remaining claw without bungee. You may bend it a bit into shape to fit through the hole.

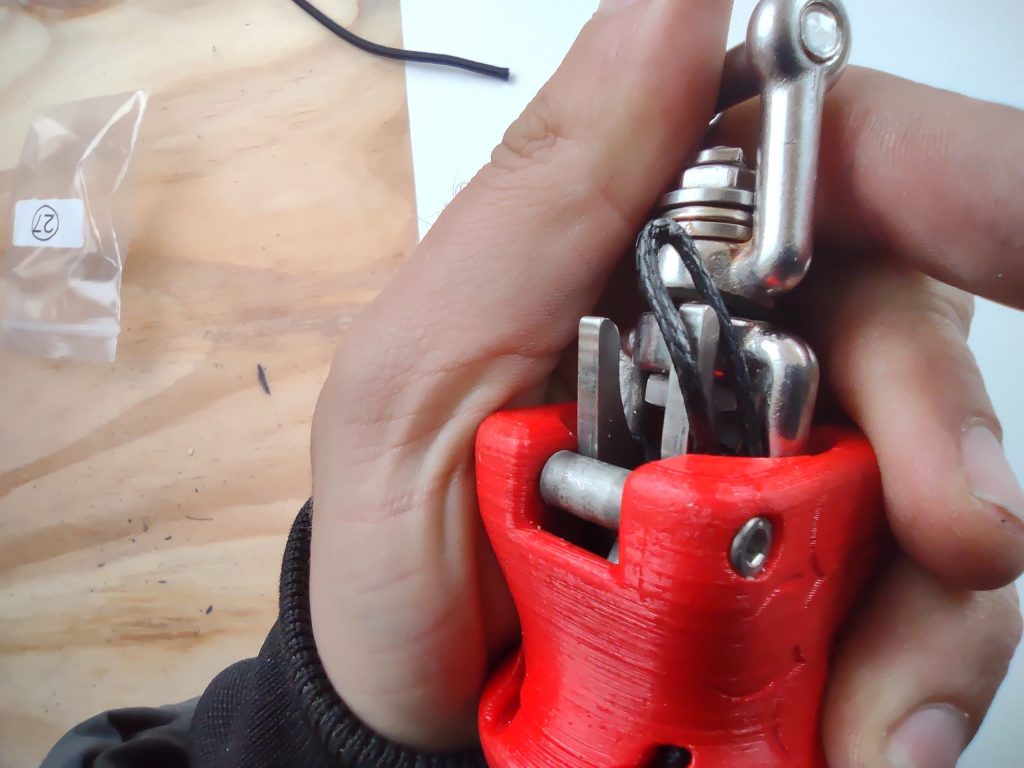
Now grab the bungee and pull it over the same claw.
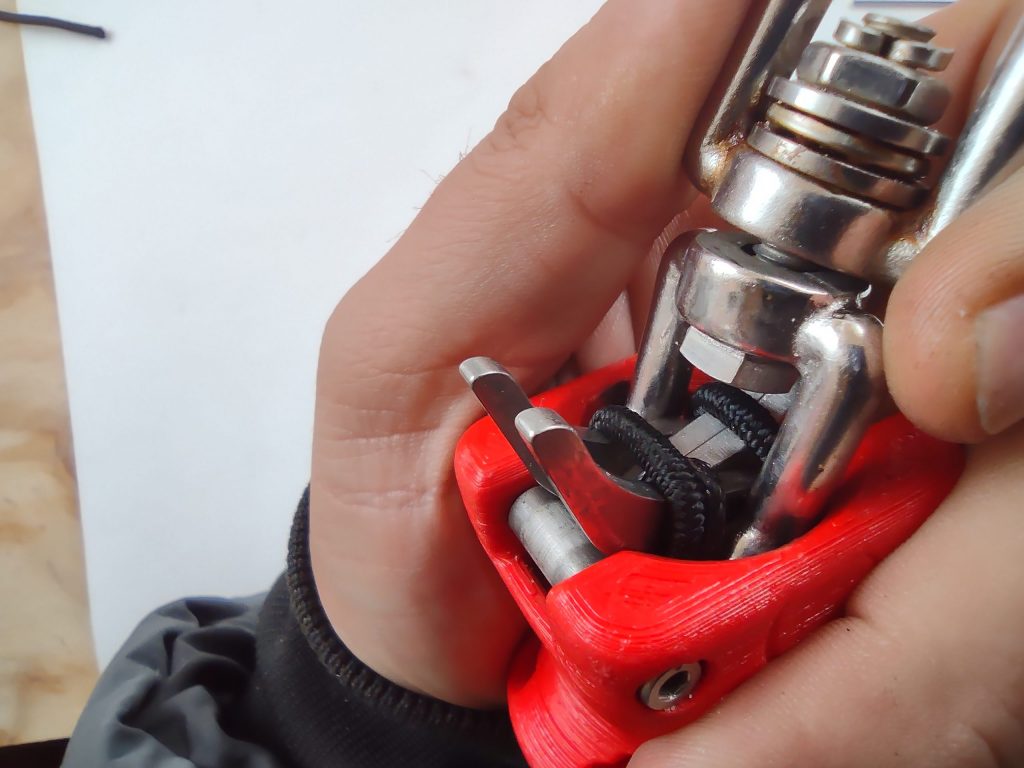
Almost finished, you will notice that the horizontal bungees for ejecting the depower cord ring are very tight after these steps making inserting and ejecting the ring go with too much effort. Pull hard on those horizontal bungees to give them some more slack. Alternate between the two a few times while pushing the release housing up in between to get the bungees back into their horizontal slots.
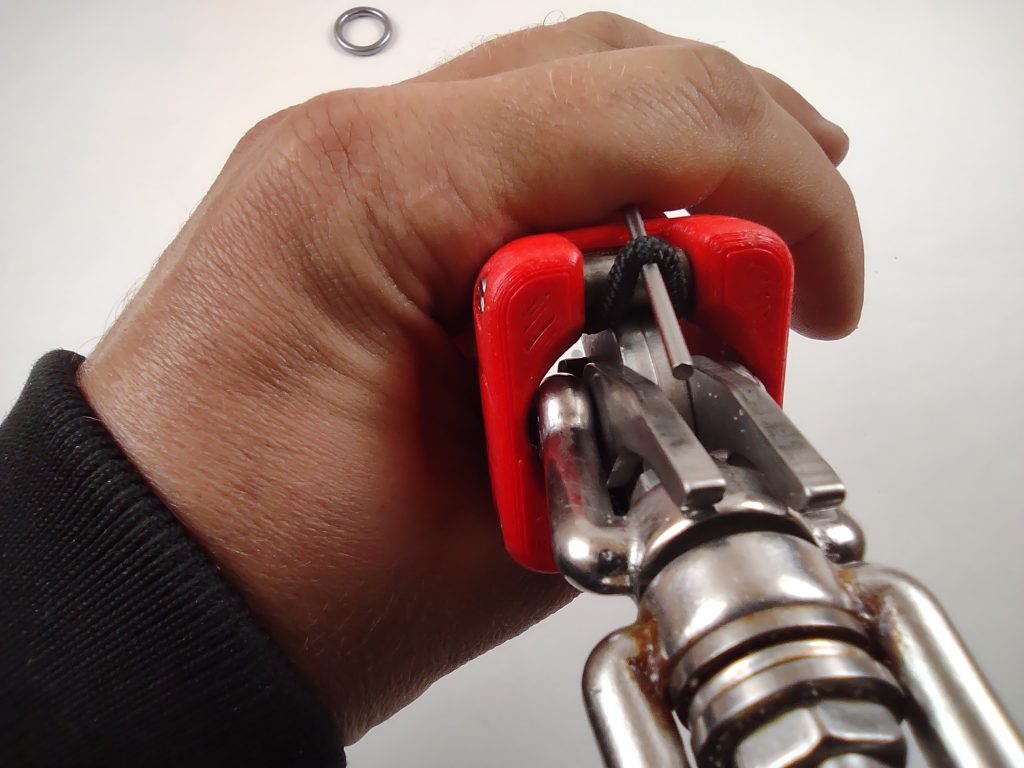
If all done correctly the claws should open when the release housing is pushed up and the depower cord ring should insert and eject without too much effort.
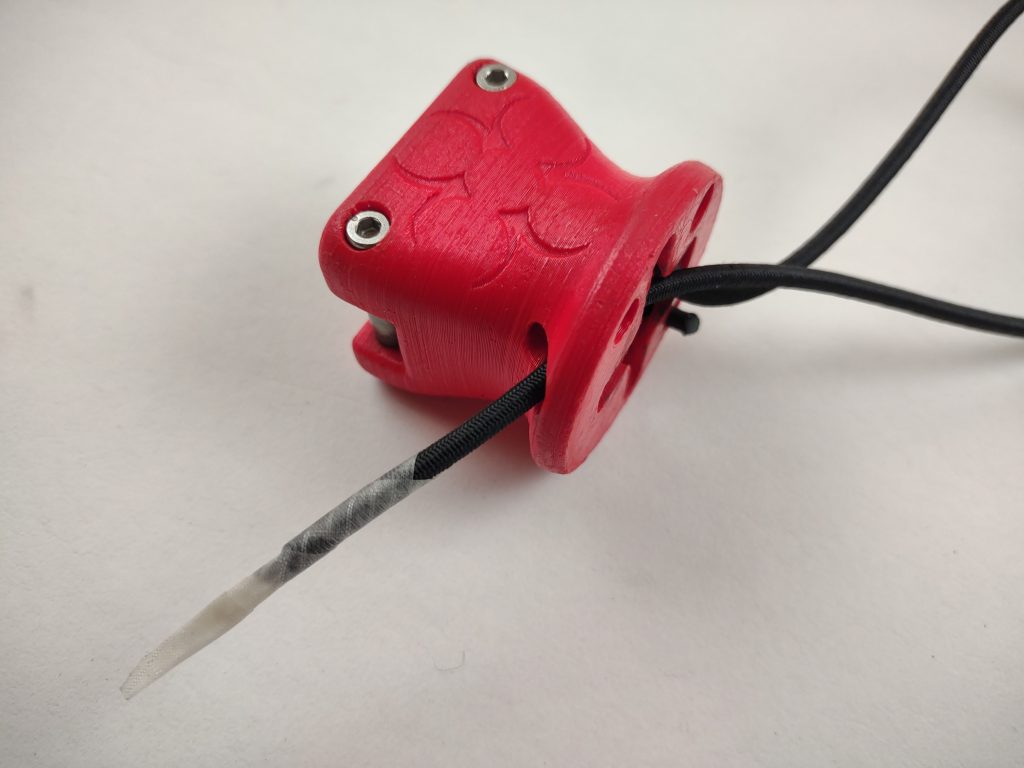
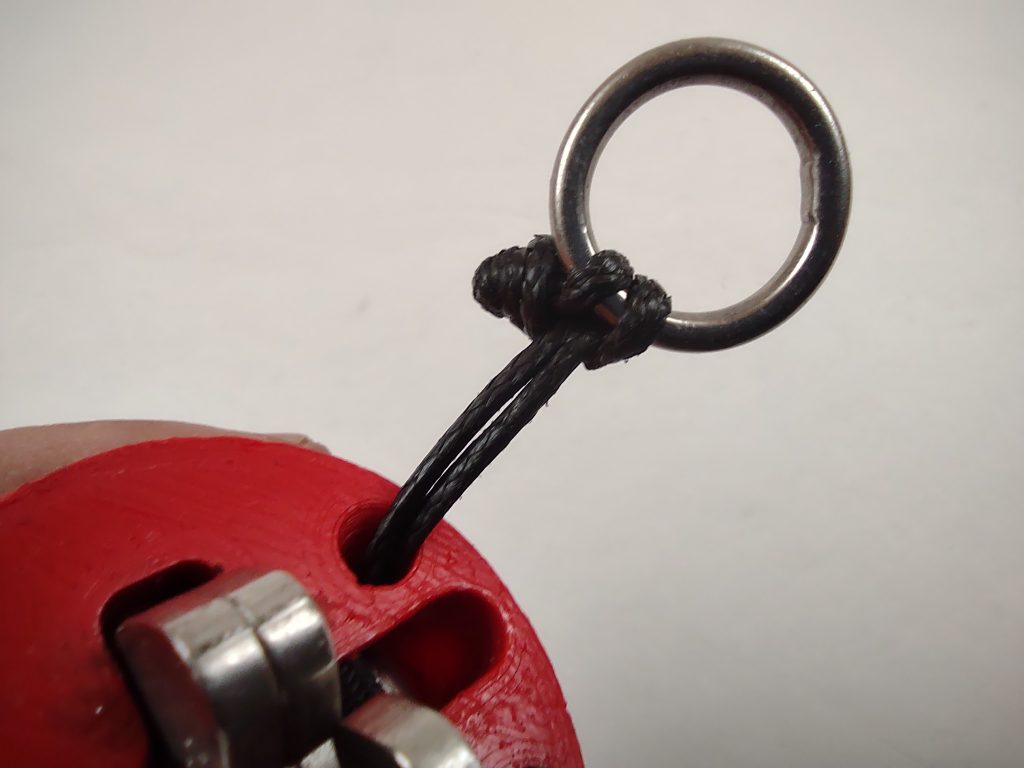
Final step is to larks-head the ring onto the leash-connector rope to prevent you from pushing the release housing too far up. Make sure the depower cord ring inserts and eject as easily as without the leash-connector ring.
All done, enjoy your refreshed Seatbelt Quick Release!